
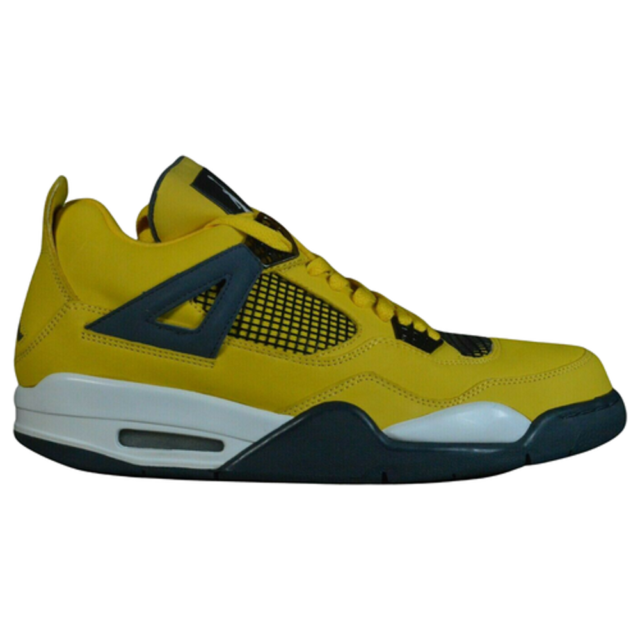
Alright, guys, so I finally decided to pull the trigger and customize my Jordan 4 Lightnings. I’ve always loved the shoe, but I wanted to make it my own, you know? So, let me walk you through what I did.
Prepping the Kicks
First things first, I gathered all my supplies. I got some Angelus leather paint, brushes of different sizes, masking tape, a deglazer, and a matte finisher. Gotta have the right tools for the job, right?
Next, I cleaned the shoes thoroughly. I used a damp cloth to wipe off any dirt or dust. Then, I applied the deglazer to the areas I planned to paint. This is super important because it removes the factory finish and helps the paint adhere better. I just used a cotton ball and rubbed it on gently.
The Painting Process
This is where the fun begins! I taped off the areas I didn’t want to paint, like the midsole and the netting. This took some time, but it’s crucial for clean lines. I used small pieces of tape and really pressed them down to make sure no paint would seep through.
- First Coat: I started with a thin, even coat of white paint on the yellow parts of the leather that I wanted to change. You don’t want to go too heavy, or it’ll crack later.
- Drying Time: I let each coat dry completely before applying the next. I used a hairdryer on a low setting to speed things up a bit.
- Multiple Coats: I applied about three to four thin coats to get a solid, even color. Patience is key here, folks!
Finishing Touches
Once I was happy with the paint job, I removed the tape carefully. Then, I applied a matte finisher to protect the paint and give it a nice, factory-like look. I did two thin coats of the finisher, letting it dry completely between each coat.
And that’s all! The whole thing took a few hours, spread out over a couple of days because of drying times. I love it!
