Alright, so today I’m gonna walk you through my experience trying to replicate the Bottega Veneta slouch bag. I’m calling it the “BV SF” for short. Let me tell you, it was a journey!

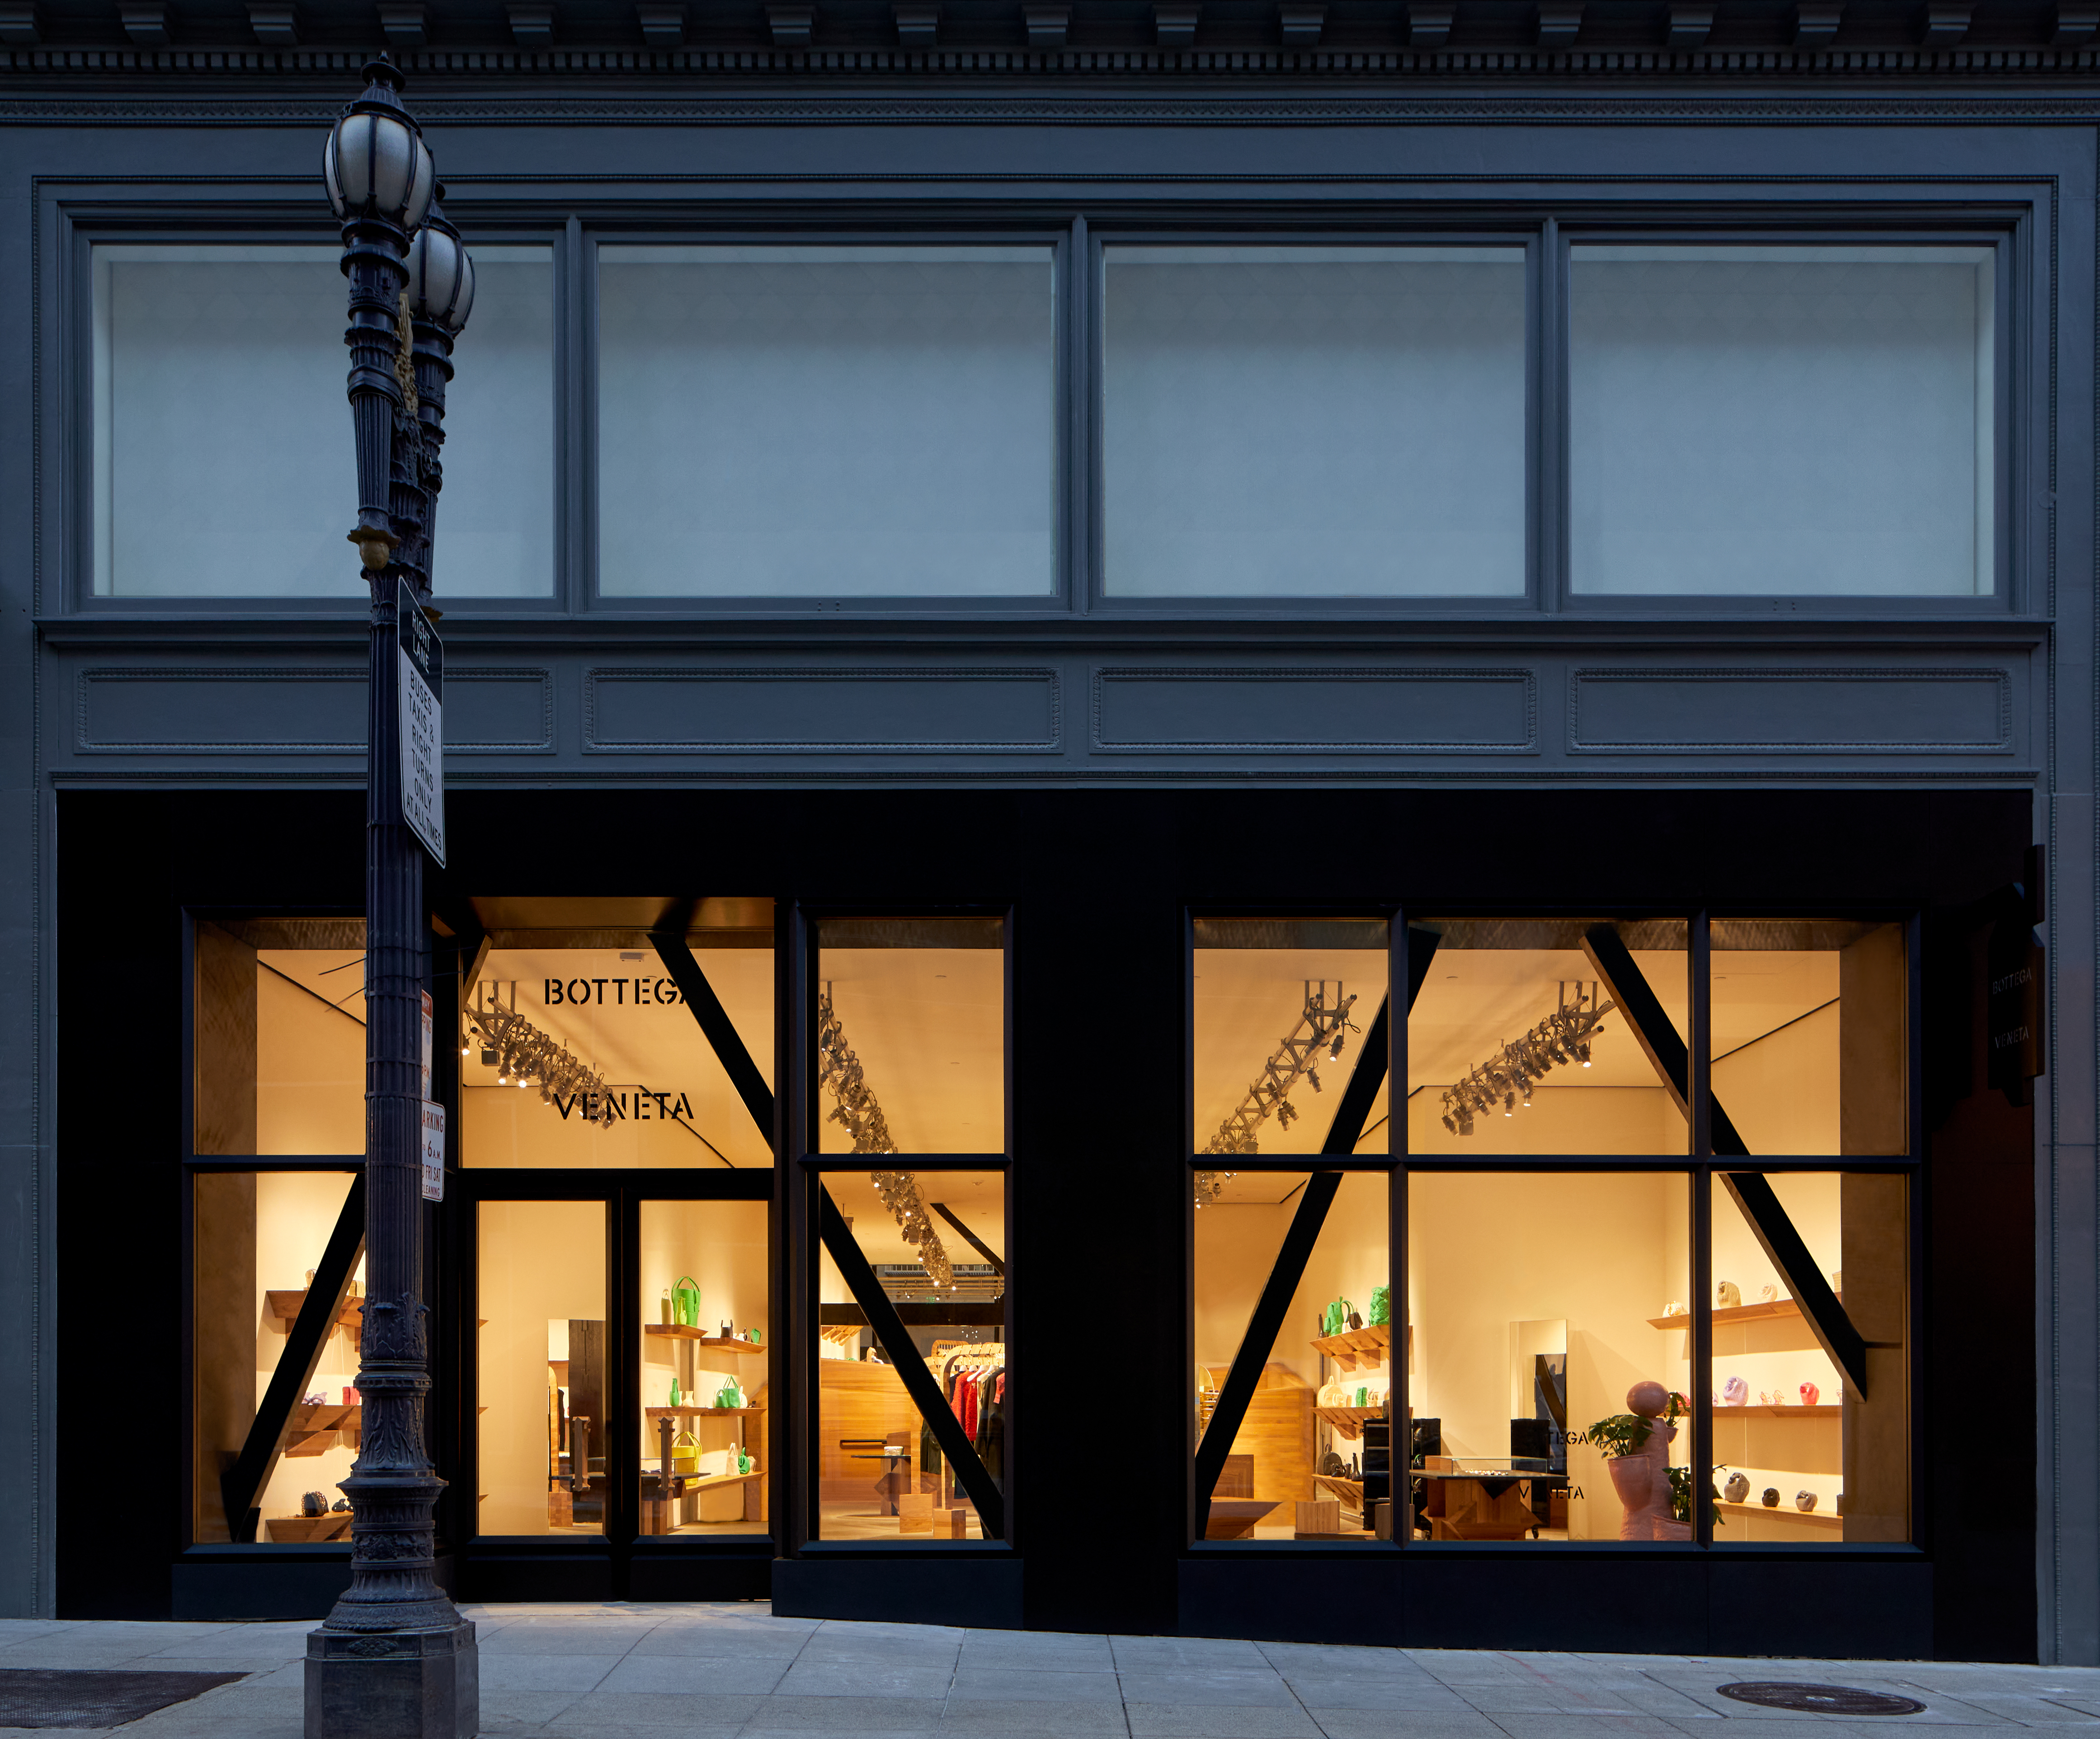
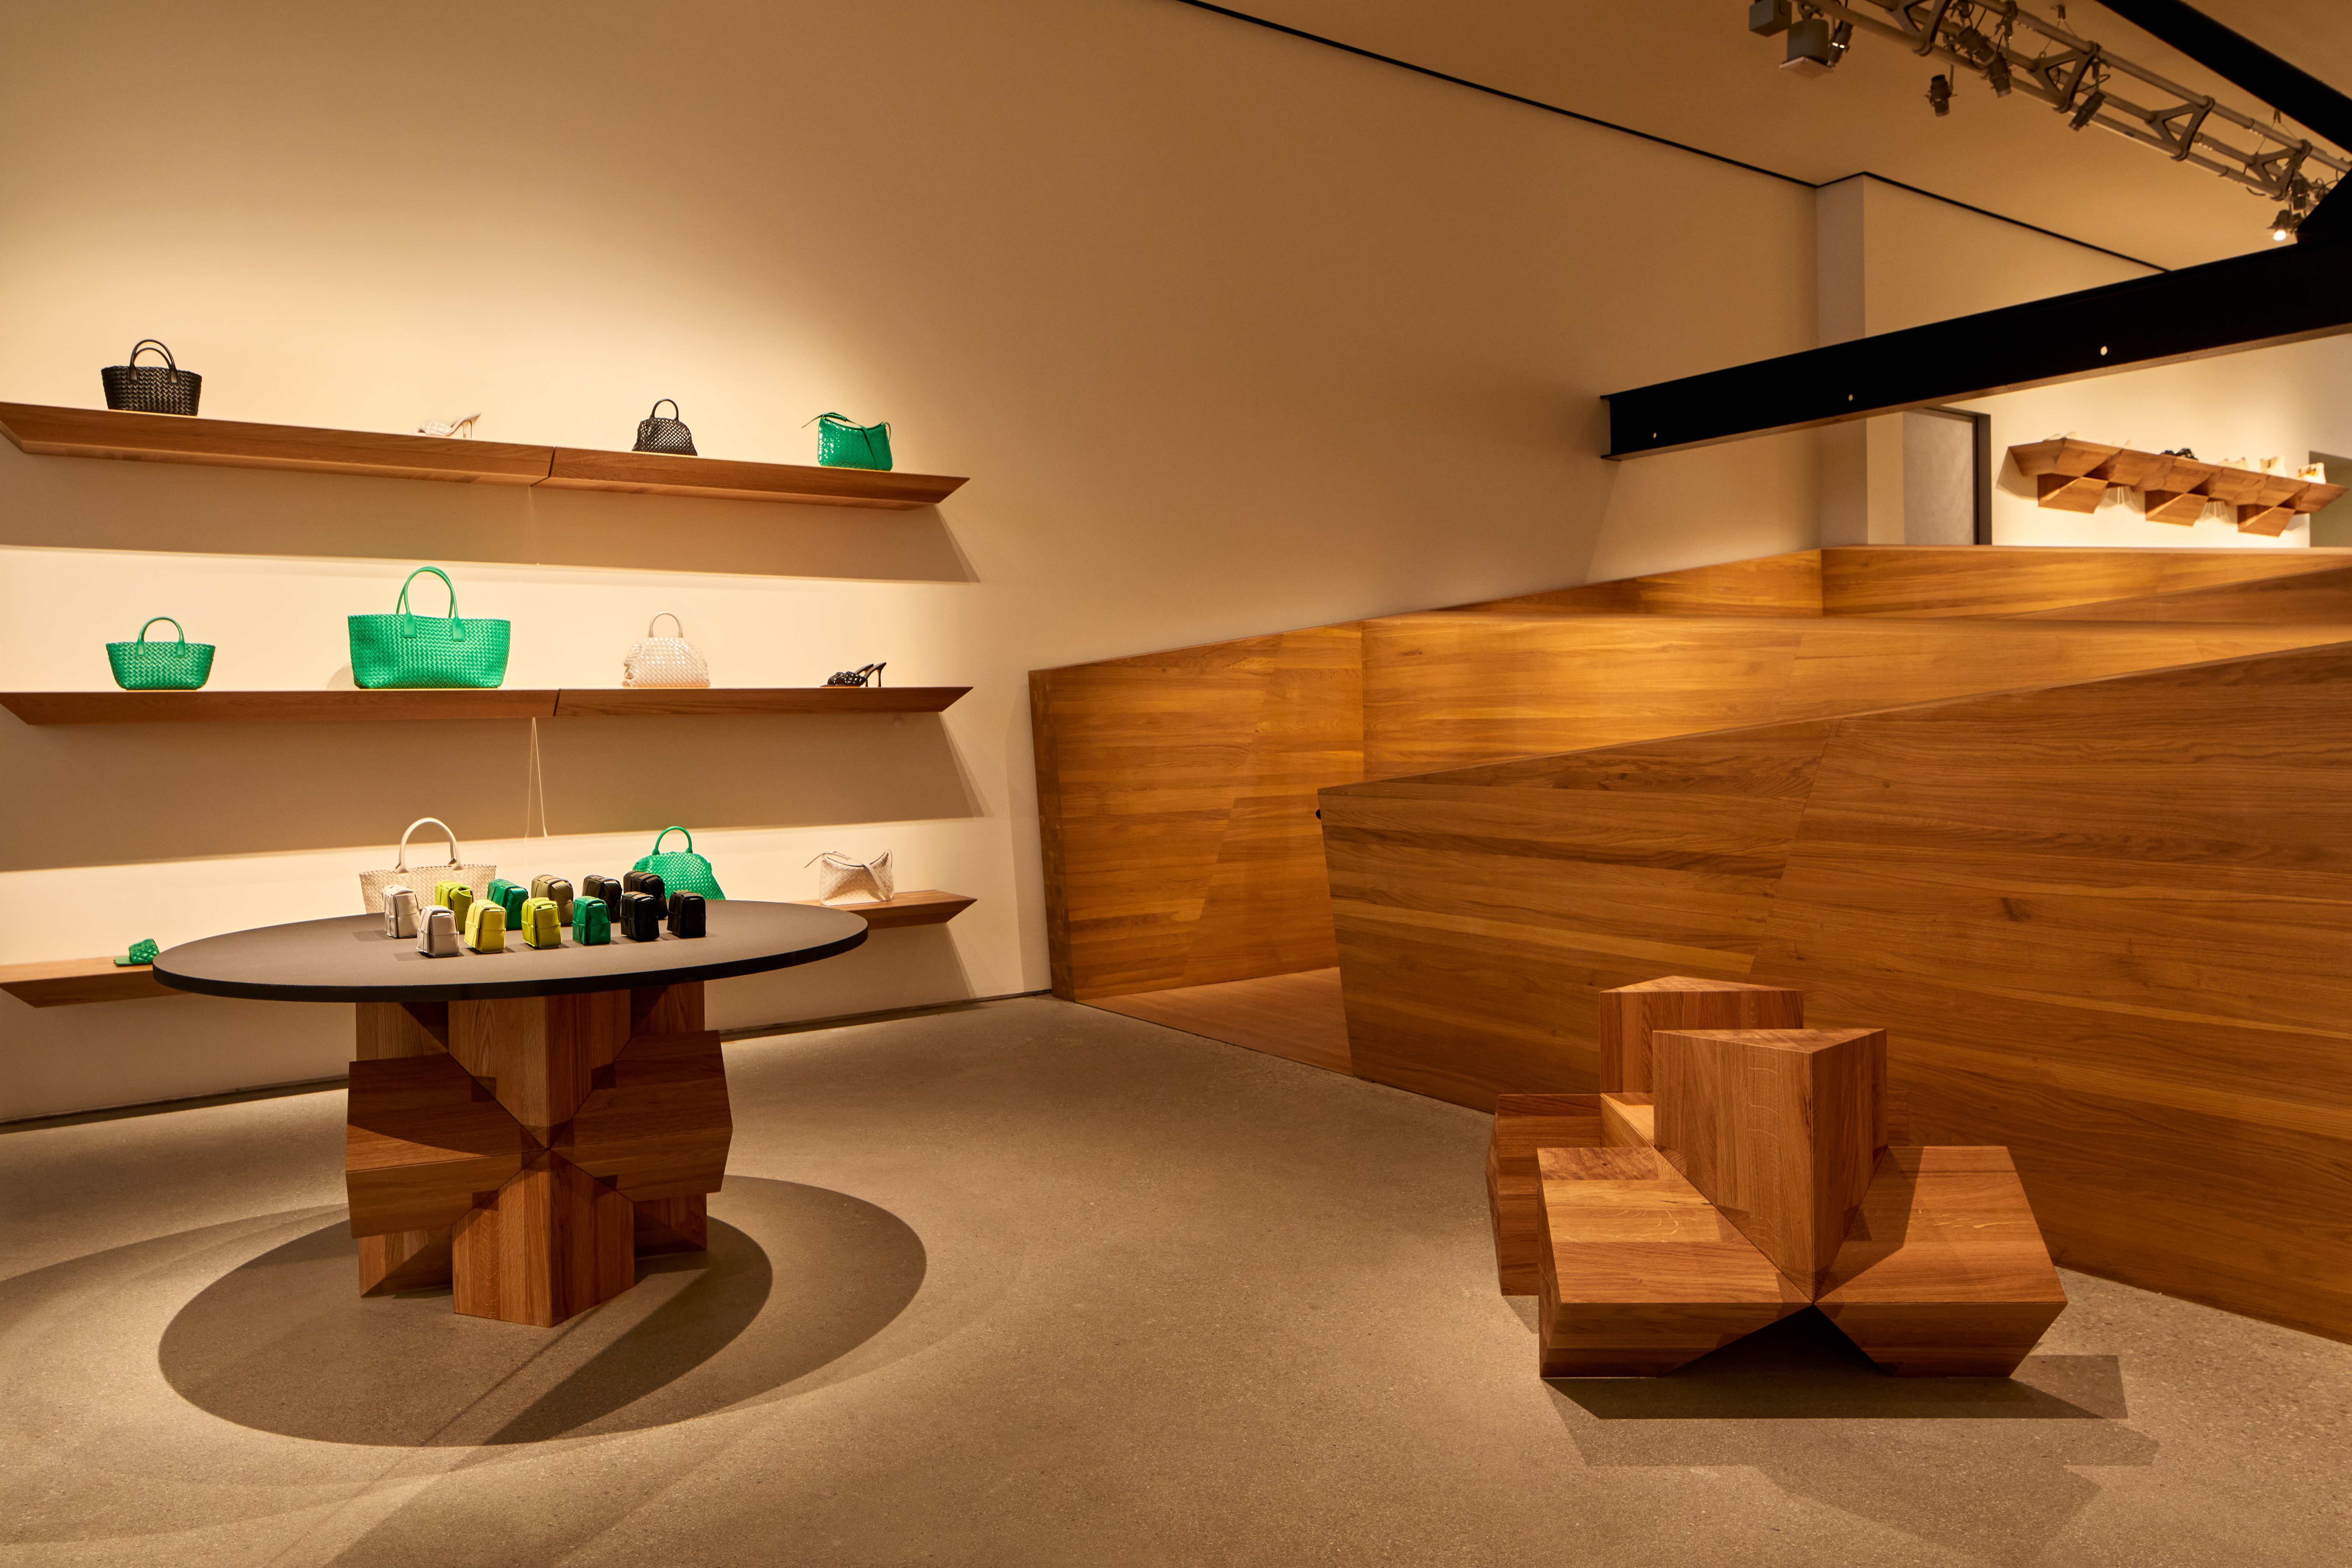
It all started when I saw this bag online. Loved the shape, loved the texture, but definitely didn’t love the price tag. So, naturally, I thought, “I can probably make that.” Famous last words, right?
First things first, I hit up my local fabric store. I was aiming for a soft, buttery leather feel, but didn’t want to break the bank with real leather. Ended up finding this awesome faux leather – it’s got a great drape and texture, plus it was on sale! Score!
Next up was figuring out the pattern. Since I couldn’t find an exact pattern online (duh!), I decided to wing it. I grabbed an old tote bag I had lying around and started sketching out the basic shape, then adjusted it until I got something that looked vaguely Bottega-ish. It involved a lot of staring at pictures online and muttering to myself, I tell you.
Cutting the fabric was the next hurdle. This faux leather was surprisingly slippery, so I had to be extra careful to keep everything lined up. I used a rotary cutter and a ruler to get clean edges. Pro tip: use lots of clips instead of pins – they won’t leave permanent holes!
Okay, here’s where things got interesting. The weaving! The original BV bag has this intricate woven pattern, which I obviously couldn’t replicate perfectly. So, I decided to simplify it and go for a wider, more chunky weave. I cut long strips of the faux leather and then started weaving them together. It was super time-consuming, but honestly, kind of therapeutic.

Once the weaving was done, I had to attach it to the lining. I used a basic cotton fabric for the lining – nothing fancy. I sewed the woven part to the lining, leaving an opening at the top for turning. This part was a bit tricky because the woven fabric was bulky and hard to maneuver under the sewing machine foot.
After turning it right side out, I had to close the opening. I opted for a hand-stitched closure, which took forever but gave it a nice, clean finish. Then, I added some simple leather straps for the handles. I attached them with rivets for extra security.
And voila! The “BV SF” was born. It’s not perfect, by any means. The weaving is a bit wonky, and the shape is slightly off. But hey, for a first attempt, I’m pretty happy with it!
Lessons learned? Definitely plan out the pattern more carefully next time. And maybe invest in a leather weaving tool (if such a thing exists!). But overall, it was a fun and challenging project, and I’m rocking my new bag with pride!
- Find good quality faux leather.
- Don’t be afraid to experiment with the weaving pattern.
- Take your time – weaving takes patience!
Would I do it again?
Probably! But maybe a different Bottega Veneta bag next time. The possibilities are endless!