")
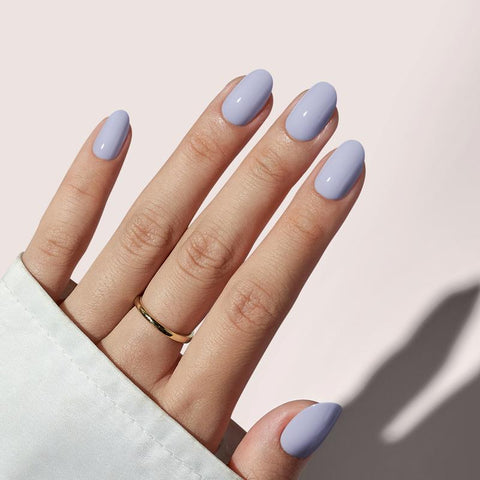
Okay, so I’ve been seeing oval nail designs all over my Instagram feed lately, and I finally decided to give them a shot. I mean, they’re everywhere, right? From simple, clean looks to those wild, artsy ones, I just had to try it out myself. Here’s how it went down.
First off, I gathered all my nail stuff. You know, the usual: nail polish remover, cotton balls, my trusty nail file, a bunch of different polishes, some striping tape I found at the bottom of my nail kit, and a top coat. I wanted to make sure I had everything within reach because once I get started, I hate having to stop and look for things.
Then, I removed any old polish I had on. Gotta start with a clean slate, am I right? After that, I started filing my nails. Now, I’ve always been a square-nails kind of girl, so shaping them into ovals was a bit of a challenge. I took it slow, filing a little at a time, constantly checking the shape to make sure it was even and actually looked like an oval. It took a while, but I think I got the hang of it.
Choose the color for my nails
- I picked out a couple of colors I thought would look cool.
- Then I decided to go with this soft, pastel pink.
- I also grabbed a white polish because I had this idea to do some stripes.
Once the shaping was done, I applied a base coat. This is something I never skip because it really helps protect your nails and makes the polish last longer. After the base coat dried, I put on two coats of that pastel pink. I made sure each coat was completely dry before applying the next one to avoid any smudging or bubbles.
Now for the fun part – the stripes! I waited until the pink polish was totally dry, then I took my striping tape and carefully placed thin strips across my nails. This was way harder than I thought it would be. Getting the tape straight and evenly spaced took some serious patience. But after a few tries, I managed to get it right.
With the tape in place, I painted over it with the white polish. It was a bit messy, but I figured I could clean it up later. Once the white polish was dry, I very carefully peeled off the striping tape. And guess what? It actually looked pretty good! There were a few spots where the lines weren’t perfect, so I used a tiny brush dipped in nail polish remover to clean them up.
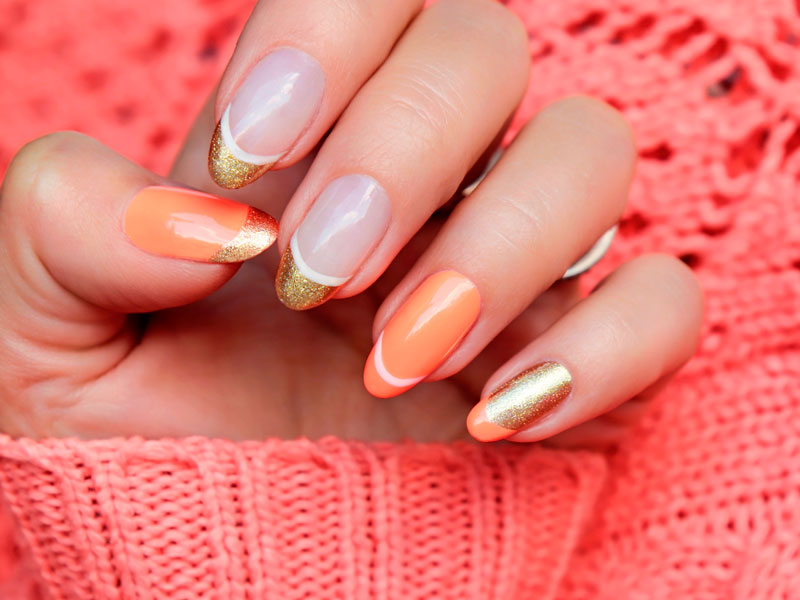
Finally, I applied a top coat to seal everything in and give it a nice, glossy finish. And that’s it! My first attempt at oval nail designs. It definitely took longer than my usual nail routine, but I’m pretty happy with how they turned out. They look kinda cute and chic, if I do say so myself.
I’m not sure if I’ll stick with the oval shape forever, but it was fun trying something new. I might even try some more intricate designs next time. Maybe those bird-themed ones, I think those look adorable! If you’ve got any tips or ideas for oval nail designs, let me know! I’m always up for experimenting with my nails.
