
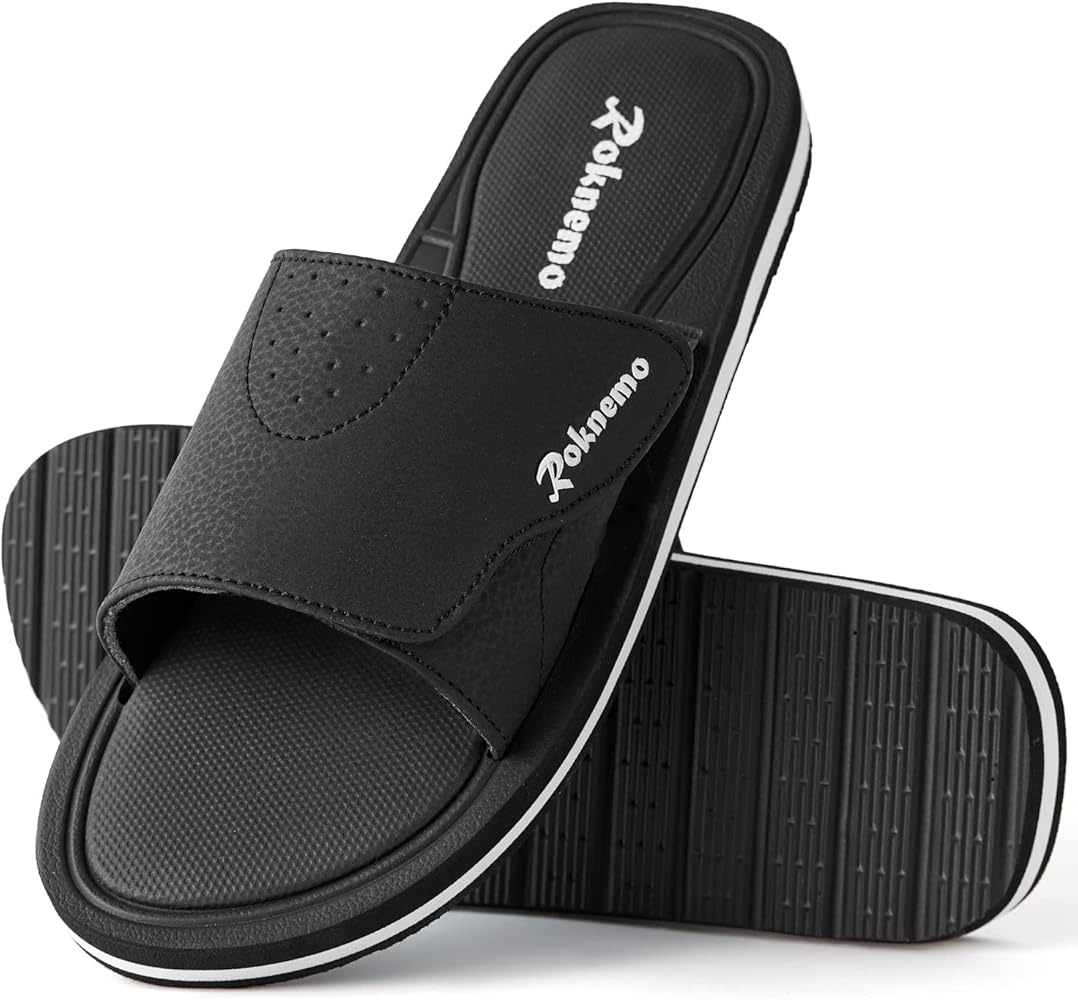
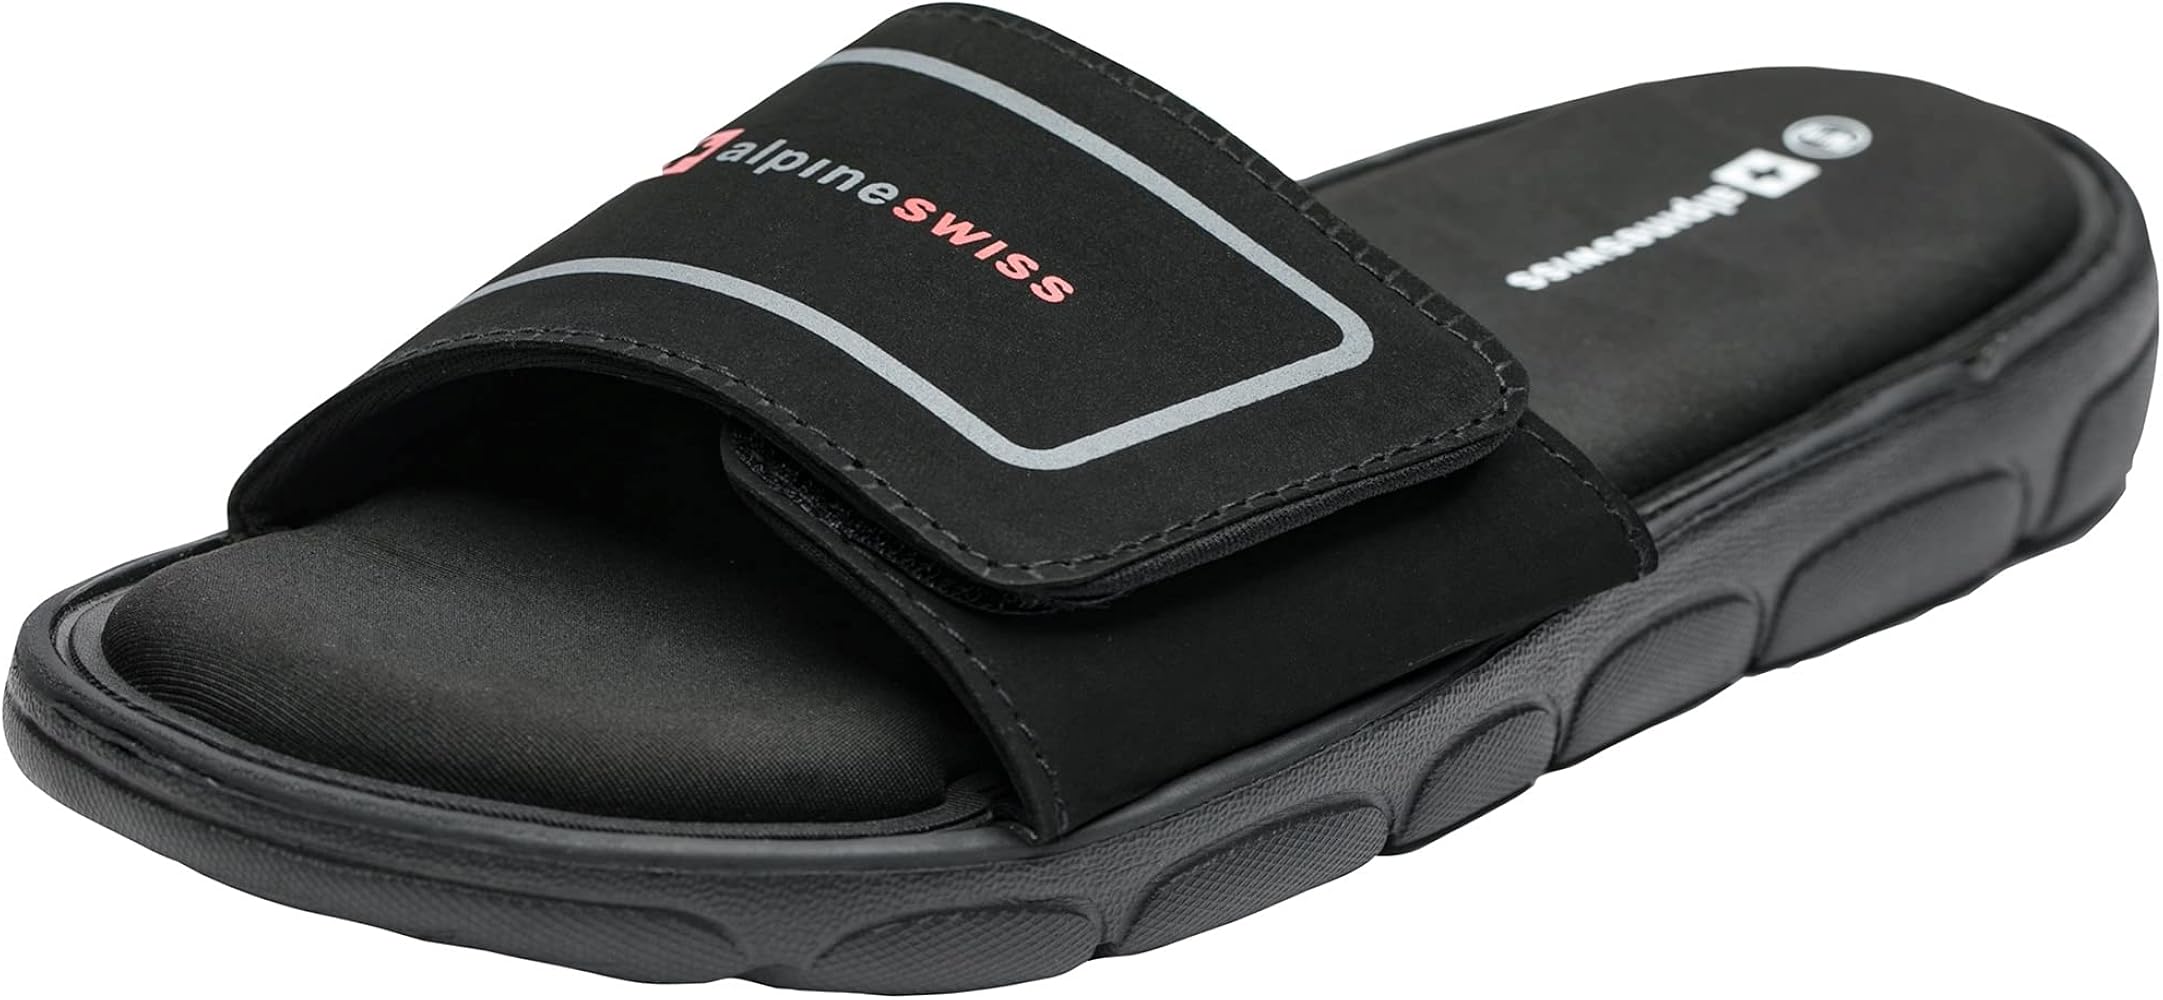
Okay, so I’ve been meaning to get around to this project for ages, and I finally did it! I had these old sandals that I loved, but the straps were getting all stretched out and loose. Instead of tossing them, I decided to try and make them adjustable. Here’s how it went down:
Gathering My Stuff
First, I grabbed everything I thought I might need. This included:
- The sad, stretched-out sandals
- Some strong, but thin, nylon webbing (I found some at a craft store)
- Buckles – the kind you see on backpack straps
- Needle and heavy-duty thread (I used upholstery thread)
- Scissors
- A lighter (to melt the ends of the webbing so it doesn’t fray)
- Maybe some pliers, just in case
The Process
First I removed my old straps out from the shoes sole, and then used it to measure new straps.
I started by cutting the old straps off. This was a little scary, but I just went for it. Then, I measured the new webbing. I made sure to leave plenty of extra length for adjustments and for attaching the buckles. It’s always better to have too much than too little!
Next, I took the lighter and carefully melted the cut ends of the webbing. This is important to prevent fraying. Don’t hold the flame too close, just a quick pass is enough.
Then came the tricky part – attaching the buckles. I threaded one end of the webbing through the buckle, folded it over, and then sewed it down really securely. I went back and forth a bunch of times to make sure it wouldn’t come undone. I did the same thing with the other side of the buckle, creating a loop that would eventually go through the sandal.
After that, I positioned the new straps on the sandals where the old ones had been. This took some fiddling to get it right. Once I was happy with the placement, I sewed the straps onto the sandal base. Again, I used lots of stitches to make sure it was super strong.
Lastly threaded the loose end of the webbing to connect to the buckle, and repeated everthing on the other sandal.
The Result
It took a bit of time and patience, but I’m pretty stoked with how they turned out! Now I can adjust the straps to fit my feet perfectly, no matter what. They’re way more comfortable and secure than before. Plus, I saved a perfectly good pair of sandals from ending up in the trash. Definitely a win-win!
I wore these shoes out the other day, super comfortable!
