
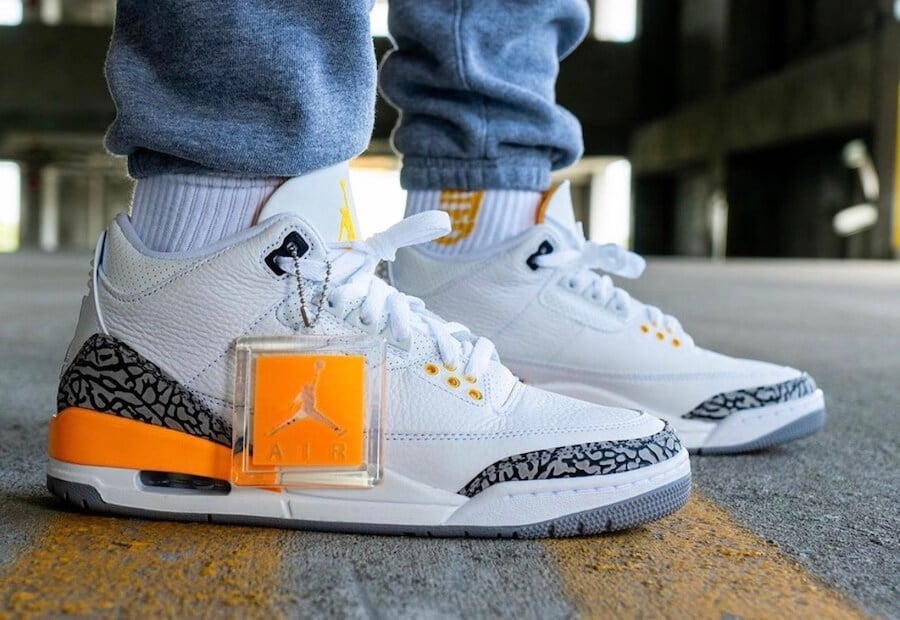
Okay, so, I got really into customizing sneakers lately. It’s kinda become my new obsession. I saw these Jordan 3s online, the white ones, and I thought, “Man, those are screaming for some color.” Orange is my jam, so I decided to go with that. It was a whole process, let me tell you.
First, I got all my stuff together. I ordered some special leather paint online, the kind that won’t crack when you walk. I also picked up some painter’s tape, a bunch of different-sized brushes, and some of those cotton swabs for the tiny details. And of course, I grabbed my plain white Jordan 3s. They were so plain, it almost felt wrong to paint them, but I had a vision.
I started by cleaning the shoes. You gotta get all the dust and factory stuff off, otherwise, the paint won’t stick right. I just used some soapy water and a soft brush, nothing fancy. Then came the scary part – taping. I taped off all the areas I didn’t want to paint. This took forever! You gotta be super precise, or else the lines will look wonky. I think I spent like two hours just taping those bad boys up.
Once that was done, I started painting. I did a few super thin coats, letting each one dry completely before the next. This is important, folks! Don’t rush it, or the paint will clump up and look terrible. I probably did like five or six thin coats to get that solid orange color I was going for.
After the main parts were painted and dried, I went back with a tiny brush and added some detail to the part around the ankle. Then came the moment of truth – peeling off the tape. This is the most satisfying part, by the way. Seeing those crisp lines emerge is just… chef’s kiss.
There were a couple of spots where the paint bled a little, but I was able to fix those with a cotton swab and some paint thinner. No biggie.

Finally I use a hairdryer to make sure the paint drys faster.
My takeaways:
- Patience is key. Don’t rush the drying process.
- Good tape is your best friend. Invest in some quality painter’s tape.
- Thin coats are better than thick coats. Always.
- Mistakes happen. Don’t freak out, they can usually be fixed.
I’m really happy with how they turned out! They’re definitely one-of-a-kind. I’ve worn them out a few times, and people keep asking me where I got them. It’s pretty cool to say, “Oh, I made them myself.” I might try a different color next time, maybe blue or green. Who knows! The possibilities are endless.
