
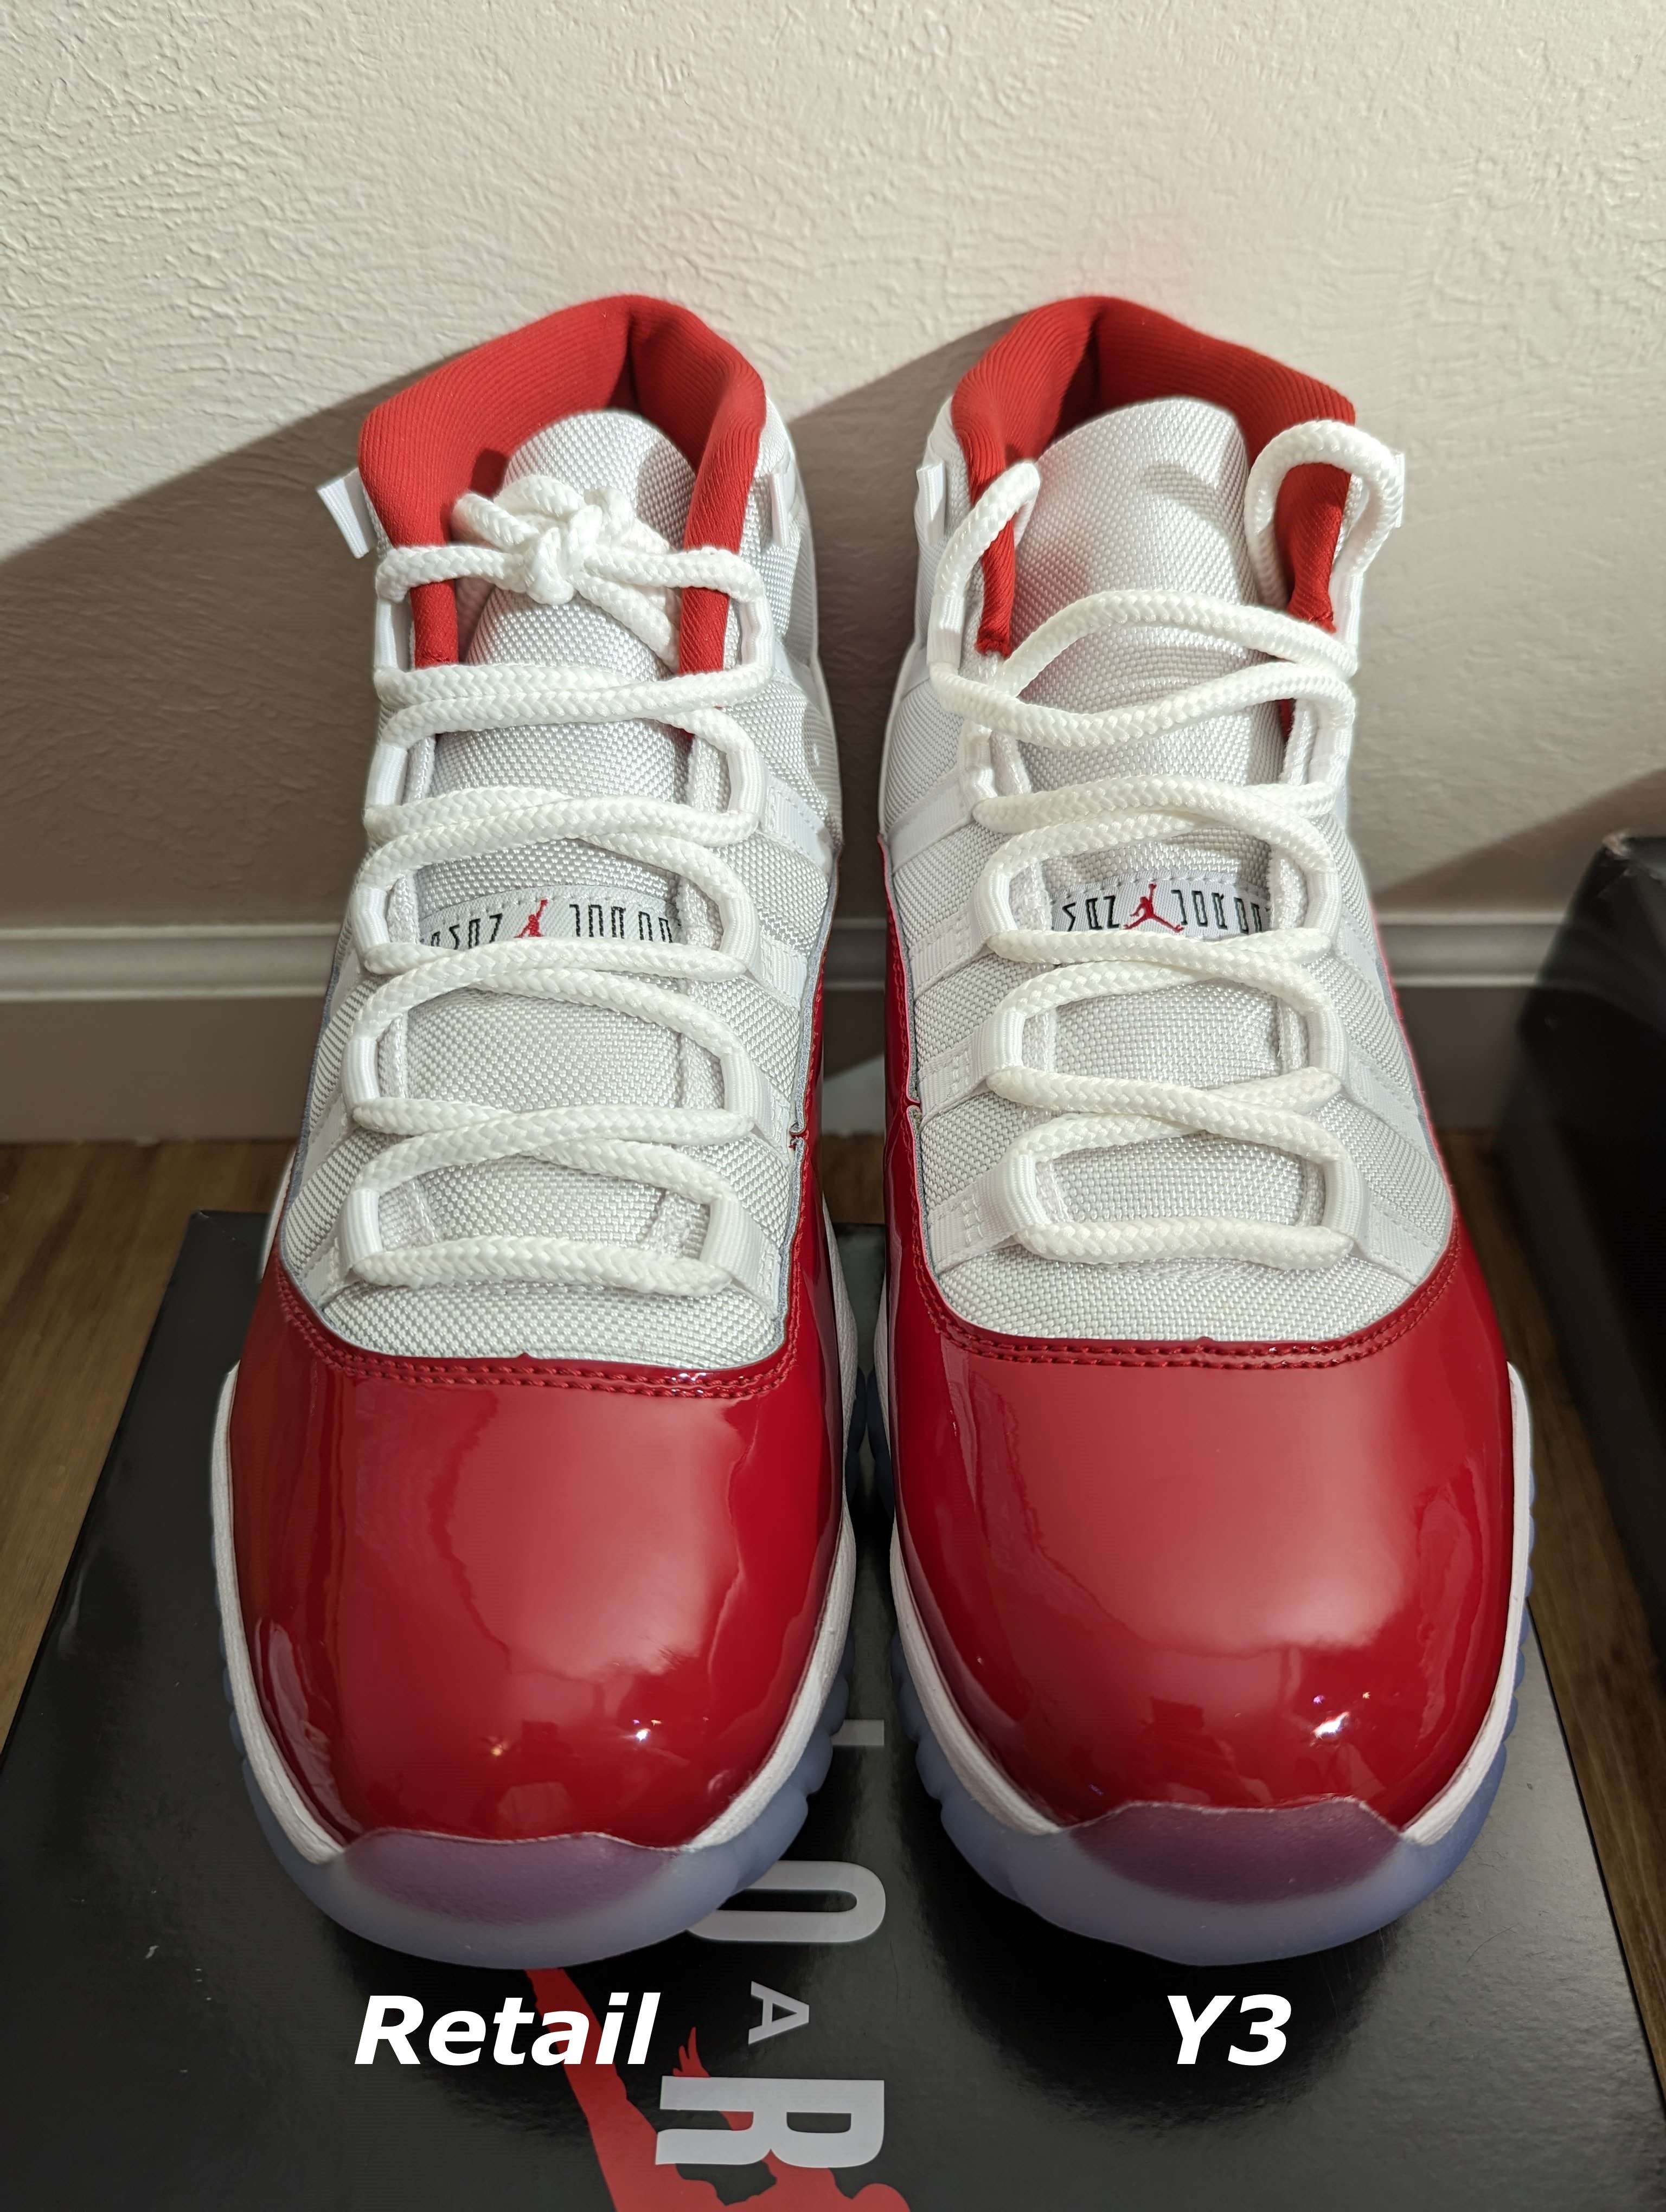
Okay, so, I’ve been messing around with these Cherry Nikes, right? First off, I got these shoes a while back, and they’ve been sitting in my closet. I figured it was time to do something cool with them.
I started by just staring at them, trying to get some inspiration. I thought, “What can I do to make these pop?” Then it hit me. I remembered I had some old paint lying around from a previous project, mostly reds and some white.
Getting Started
I gathered all my stuff: the shoes, the paint, some brushes, and some masking tape. The whole nine yards. I laid out some newspaper on my kitchen table because, let’s be real, I didn’t want to ruin it. My wife would kill me. Then, I started taping off the parts of the shoes I didn’t want to paint. This was a pain, I won’t lie. It took forever to get the tape just right.
Painting Process
- First Coat: I started with a thin layer of white paint on the parts I wanted to customize. I had this idea that this would be easy. I thought I was Bob Ross or something.
- Second Coat: After the first coat dried—which took longer than I expected, like watching paint dry, literally—I went in with another coat. It was looking better, but I still needed to do a lot of touch-ups. The first coat was really only to get the paint to stick properly to the shoes.
- Cherry Red: This is where it got fun. I used this bright cherry red paint and carefully painted over the white. It was like, boom, instant gratification. I’m not very patient, so this was great.
- Details: I added some extra details, some splatters, and some gradients. Basically, I was just messing around and seeing what worked. It was all trial and error, you know? Sometimes I got paint everywhere, and it was a real pain to fix. But I didn’t give up.
Finishing Touches
Once everything was dry, I peeled off the tape. Man, that was satisfying. Like pulling a band-aid off, but in a good way. I did have some areas where the paint bled through, so I had to touch those up with a tiny brush. My hand was cramping up by this point, but I pushed through. Finally, I sprayed the shoes with a sealant to protect the paint. I didn’t want all that work to go to waste the first time I stepped outside.
And there you have it. My custom Cherry Nikes. They’re not perfect, but they’re mine, and I’m pretty proud of how they turned out. It was a fun little project, and it kept me busy for a few days. Plus, now I have a unique pair of kicks that nobody else has. It took a lot of time and effort, but I think it was all worth it. Maybe I’ll try another pair soon.
