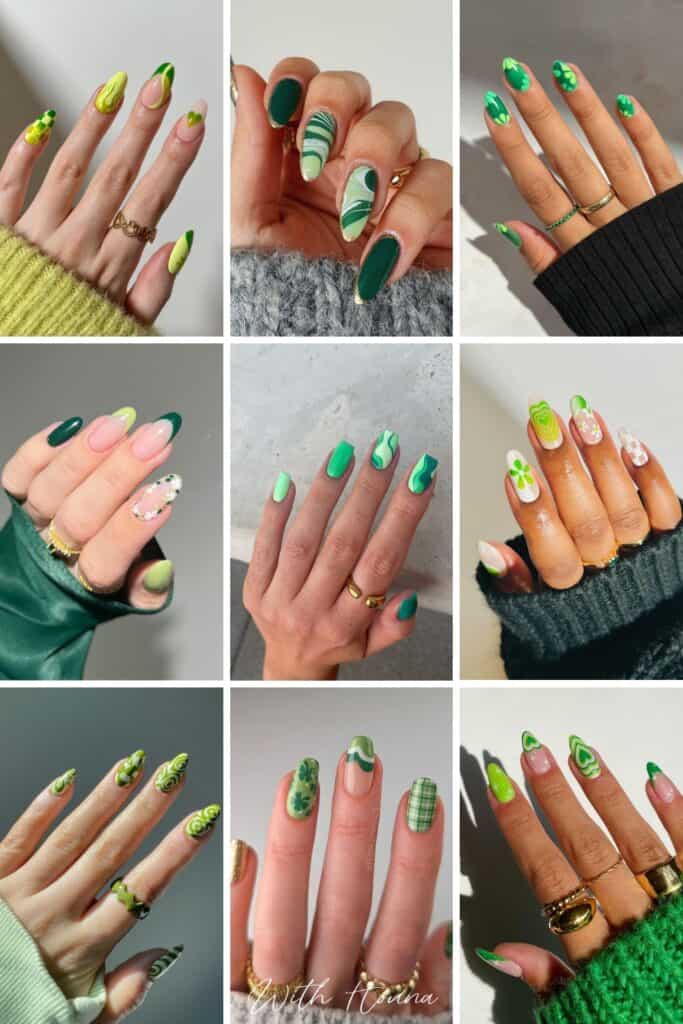
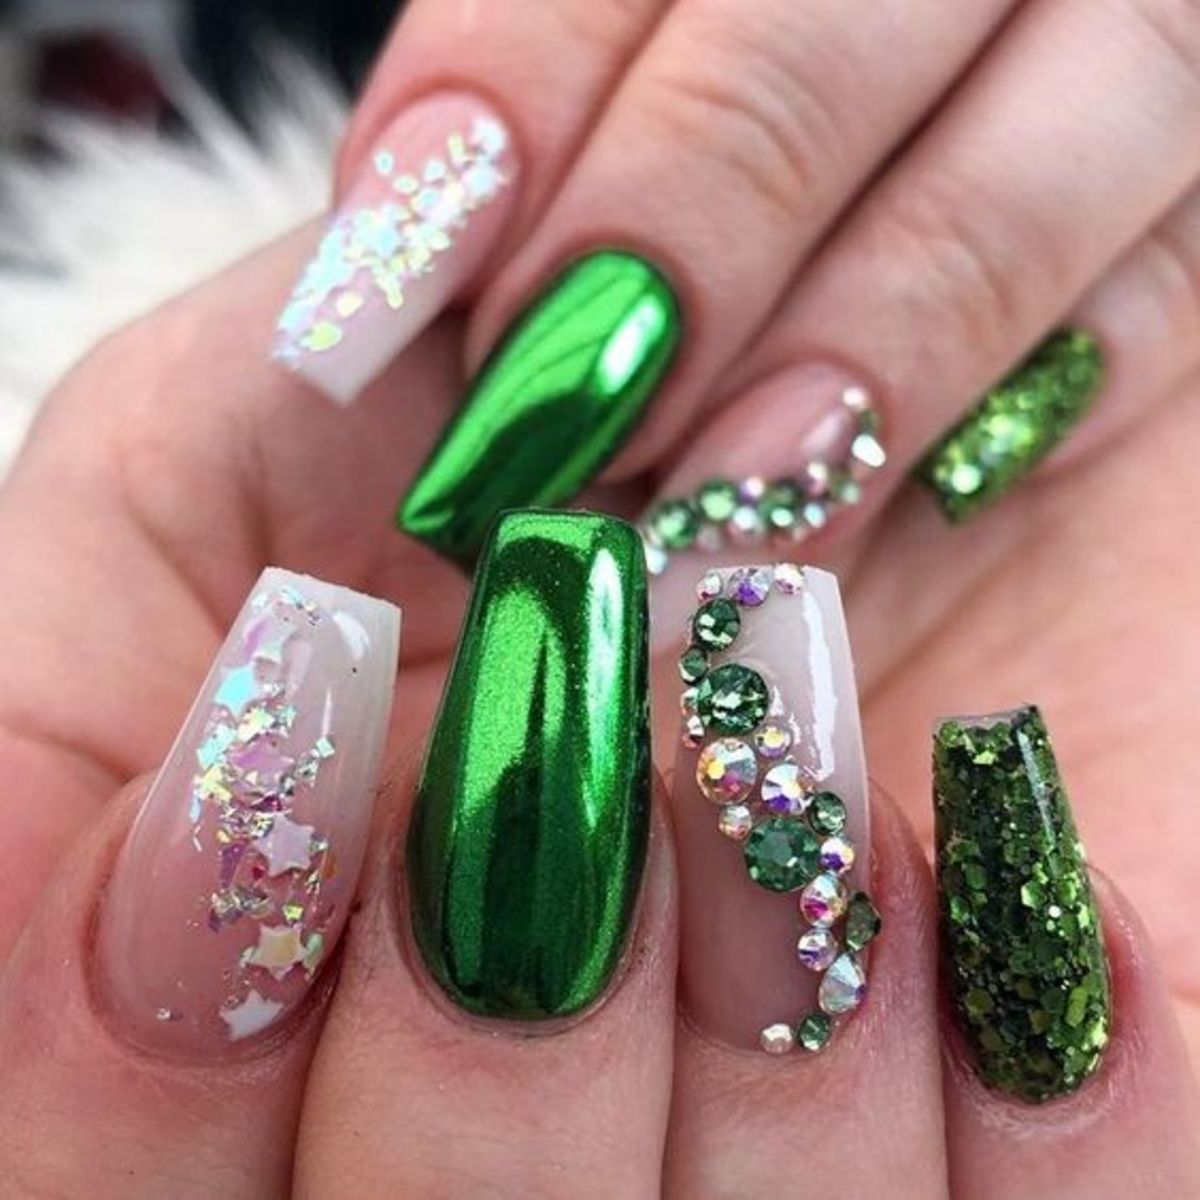
Alright guys, so today I’m sharing my attempt at some St. Patrick’s Day nail art. I’m no pro, just a regular person who likes to mess around with nail polish, so don’t expect perfection!

First things first, I gathered my supplies. I grabbed a few different shades of green – a light pastel, a darker emerald, and a glittery one for accents. Plus, I needed a base coat, a top coat, a thin nail art brush, some dotting tools (toothpicks work in a pinch!), and those little gold shamrock stickers I found at the drugstore.
Step 1: Base Coat! Always gotta protect those nails, you know? I slapped on a layer of base coat and let it dry completely. This is important, otherwise you’ll end up with stained nails, and nobody wants that.
Step 2: Green with Envy (Literally). I decided to go with the light pastel green as my base color. I painted two thin coats, making sure each coat was totally dry before adding the next. Patience is key, people! Otherwise, you get bubbles and smudges, and it’s just a mess.
Step 3: Shamrock Shenanigans. This is where it got a little tricky. I tried two different approaches. On some nails, I used the gold shamrock stickers. These were super easy – just peel and stick! But on the others, I attempted to freehand some shamrocks with the darker emerald green and the thin nail art brush. Let me tell you, my shamrocks looked more like blobs. It was rough.
Step 4: Dotting Details. To add a little something extra, I used a dotting tool and the glittery green polish to create some little dots around the shamrocks (and even just randomly on the other nails). This helped to cover up some of my shaky lines, to be honest. It also just made everything look a bit more festive.

Step 5: Top Coat Time! This is the most important step, in my opinion. A good top coat seals everything in, protects your design from chipping, and adds a nice shine. I applied a generous layer and let it dry completely.
Step 6: Clean Up! Okay, so I definitely got some polish on my skin. I used a cotton swab dipped in nail polish remover to clean up the edges. This is crucial for a polished (pun intended!) look.
The Final Result: Honestly, it’s not perfect. My freehand shamrocks are definitely wonky, but overall, I think it’s a cute and festive St. Patrick’s Day manicure. Plus, it was fun to do! And that’s what matters, right?
- What I Learned: Practice makes perfect (especially when it comes to freehanding anything). Also, those little gold stickers are lifesavers.
- Would I Do It Again? Absolutely! Maybe next year I’ll have improved my shamrock-drawing skills.
So, there you have it. My St. Patrick’s Day nail art adventure. Hope you enjoyed seeing my attempt, and maybe even got some inspiration for your own nails! Happy St. Patrick’s Day!


