")
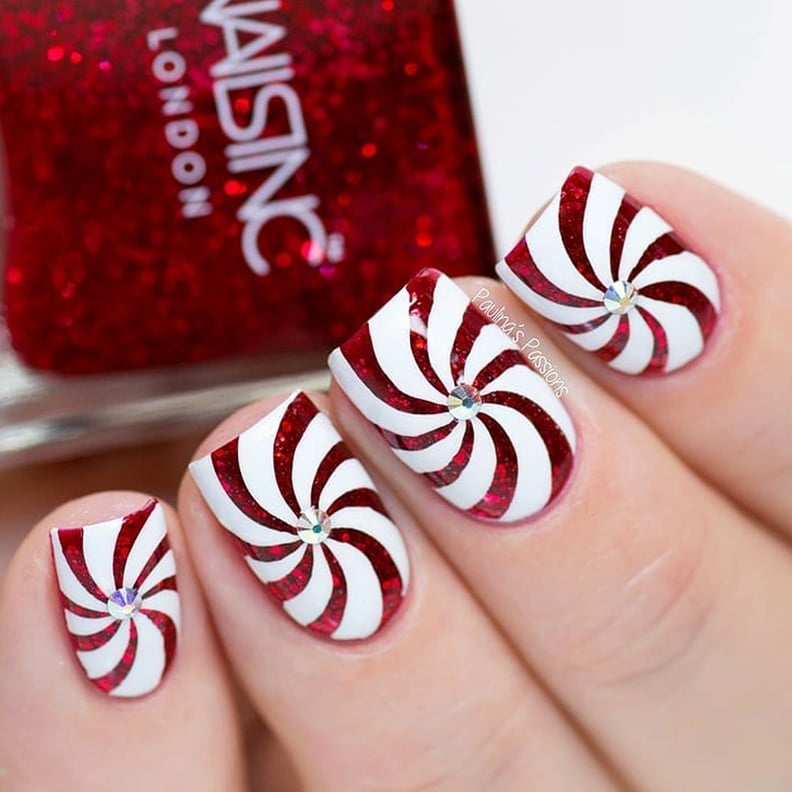
Alright, so today I’m gonna walk you through how I did my candy cane nails. It was a bit of a process, but totally worth it for the festive vibes!

First things first, I gathered all my supplies. I needed a base coat, a super bright red polish, a crisp white polish, a thin nail art brush (this is key!), and a good top coat. Oh, and some nail polish remover just in case I messed up – which, let’s be real, I totally did at least once.
Then, I started with a clean slate. I removed any old polish, clipped and filed my nails into a shape I liked. Nothing too fancy, just a nice rounded square.
Next up was the base coat. I applied a thin layer of base coat to each nail and waited for it to dry completely. Don’t skip this step! It protects your nails and helps the polish adhere better.
Once the base coat was dry, I painted all my nails with the bright red polish. I did two coats to get a really vibrant, opaque color. Make sure each coat is completely dry before moving on to the next one. Patience is key here!
Now for the tricky part: the white stripes! I grabbed my thin nail art brush and dipped it into the white polish. I started at the base of my nail and drew a thin, slightly curved line towards the tip. It’s okay if it’s not perfect, candy canes aren’t perfectly straight either, right?

I repeated this process, adding more white stripes, spacing them out evenly. This is where I definitely messed up a few times and had to use my nail polish remover to start over. Don’t be afraid to do the same! It’s all part of the process.
After I finished all the stripes, I let them dry completely. This is super important, otherwise, you’ll smudge everything with the top coat. Trust me, I’ve been there.
Finally, I applied a generous layer of top coat to seal in the design and add some shine. I made sure to wrap the top coat around the edges of my nails to prevent chipping.
And that’s it! My candy cane nails were done. It took a little while, but I was so happy with how they turned out. They were the perfect festive touch for the holiday season.
Pro tip: Don’t be afraid to experiment with different stripe thicknesses and spacing. You can also add some glitter for extra sparkle!
