
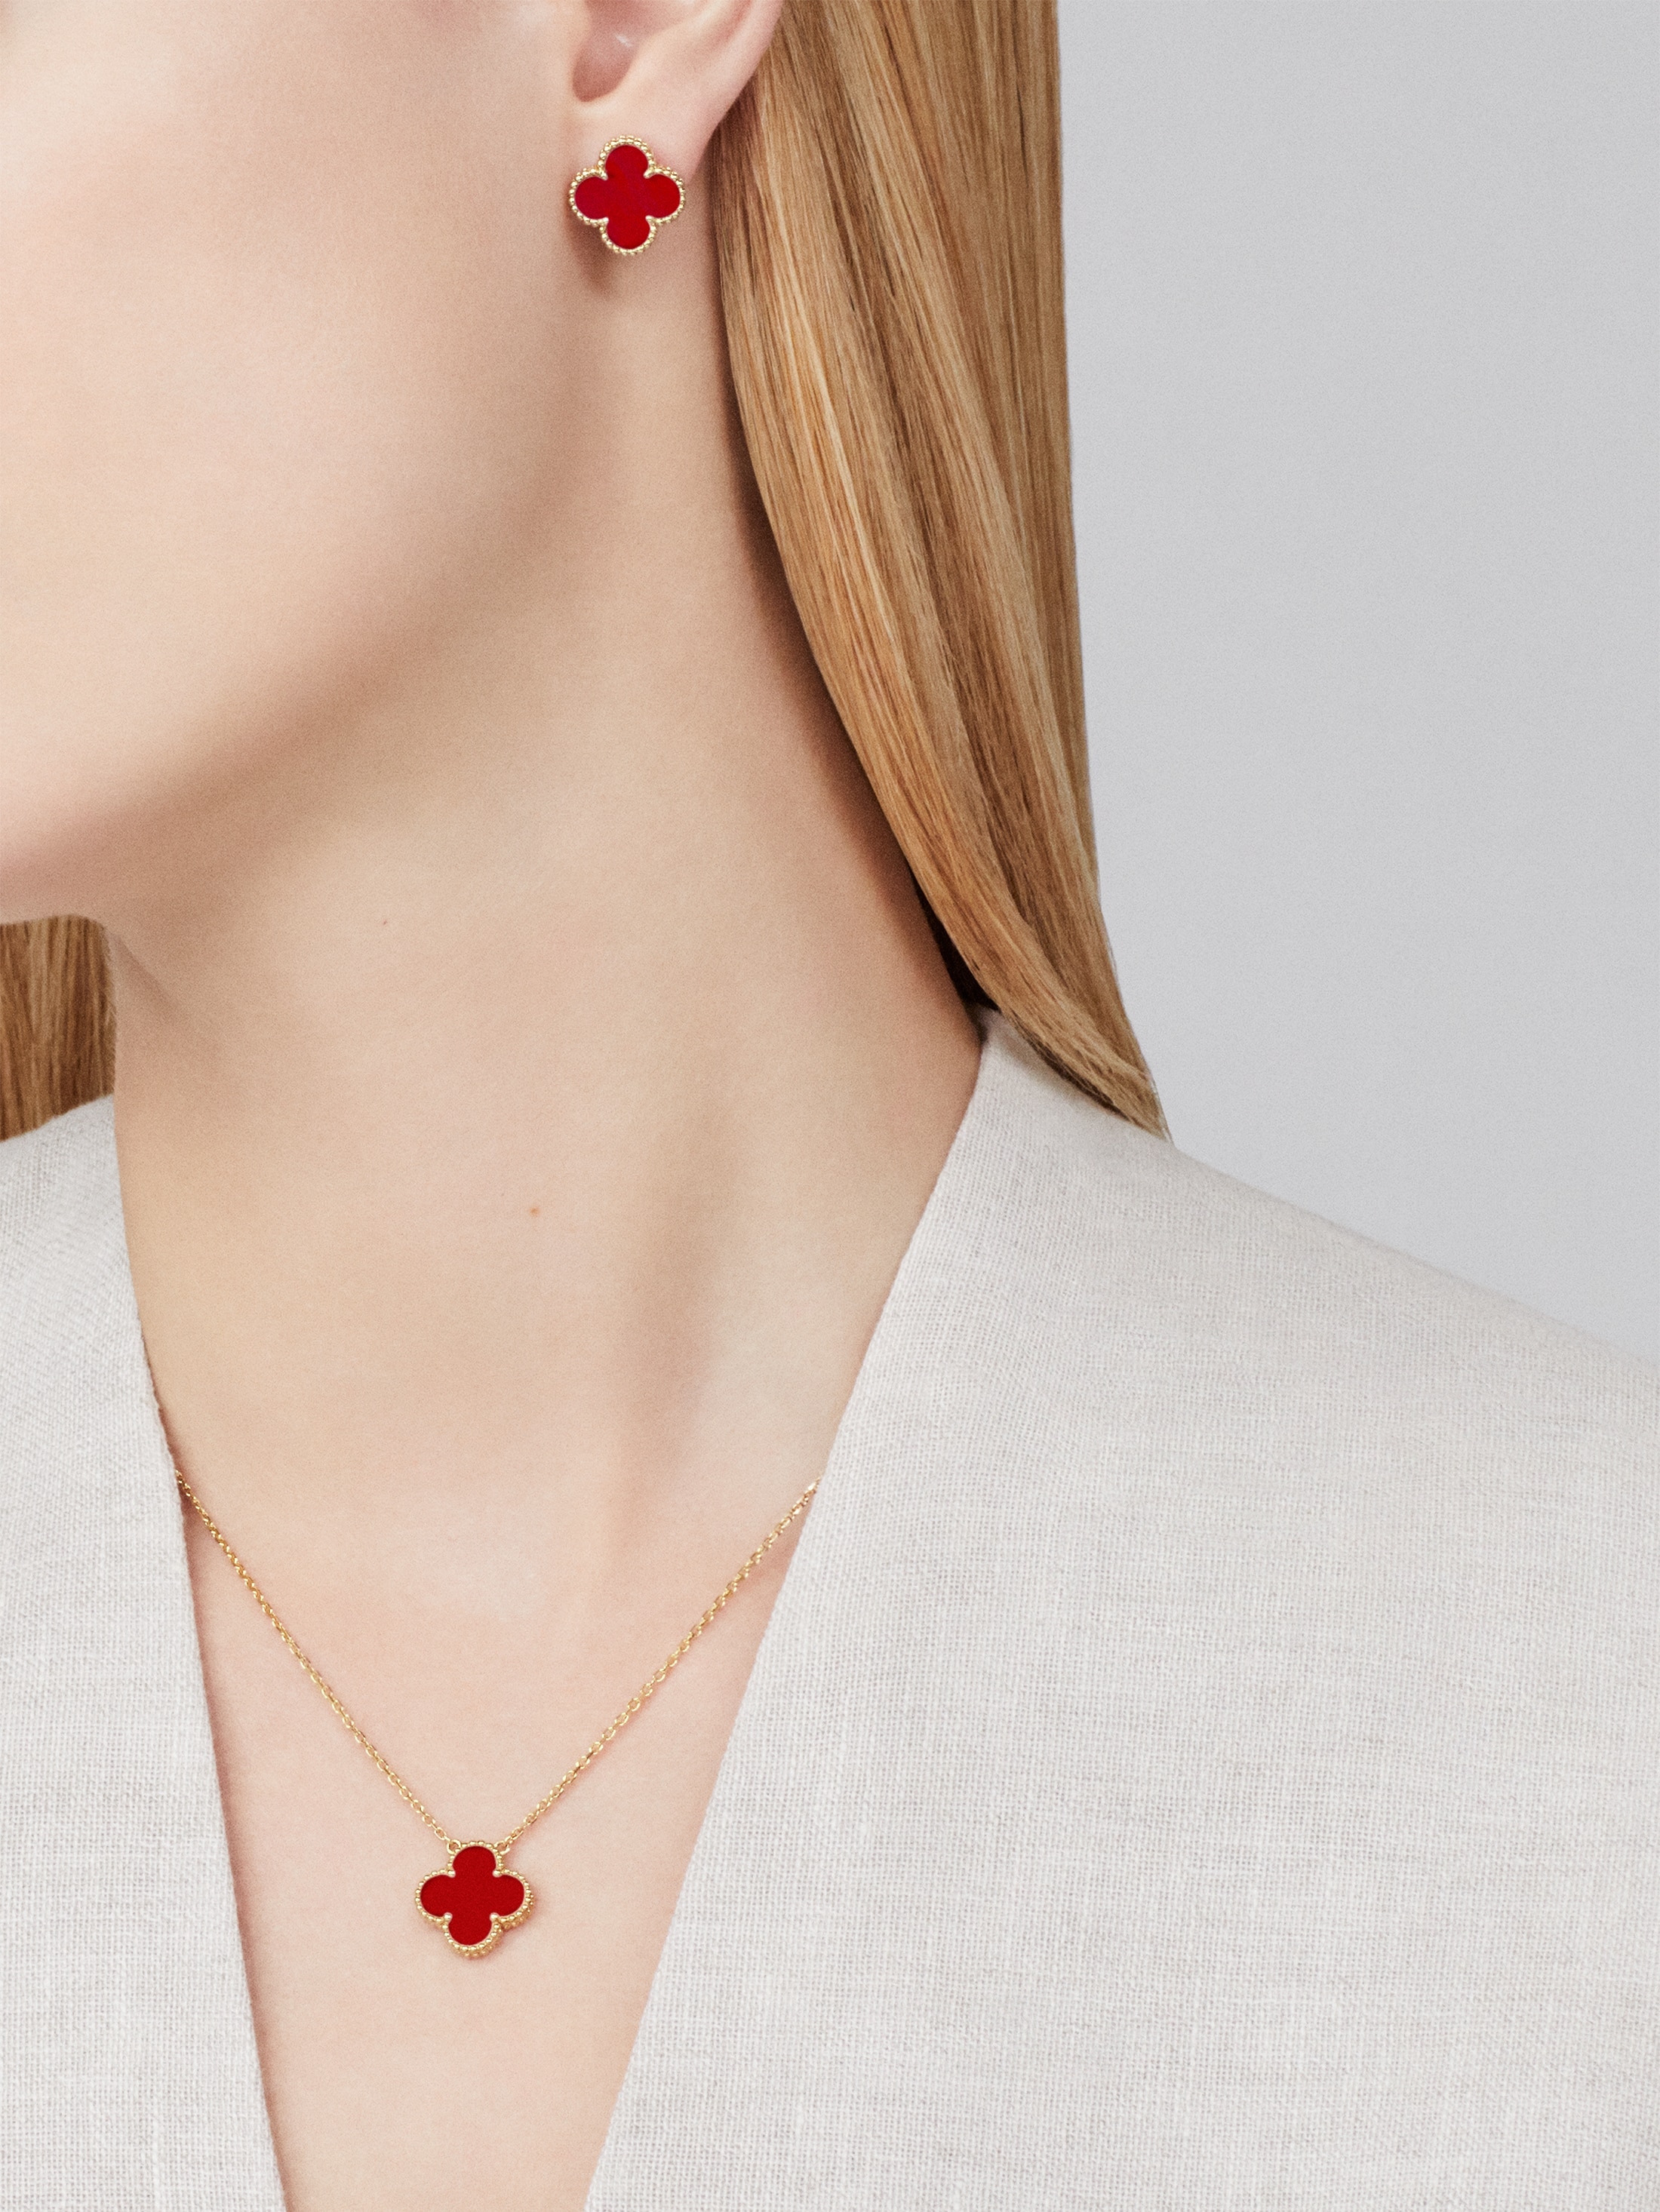
Okay, so you know how I’m always tinkering with stuff? Well, recently I got this idea stuck in my head: red Van Cleef & Arpels-inspired earrings. I saw a pair online and thought, “I can totally make those myself!” (famous last words, right?)
First things first: Gathering the Supplies
- I headed down to my local craft store. I was on a mission for that perfect shade of red resin. I ended up grabbing a two-part epoxy resin kit – the clear kind that hardens.
- Then I needed something to mold the resin into. I scoured the internet for clover-shaped silicone molds. Amazon to the rescue! Found a few different sizes just in case.
- Of course, I needed the earring findings – the little hooks and jump rings that actually attach the clover to your ear. Got those in a gold-tone to mimic the real deal.
- And glitter. Red glitter. Because why not?
The Messy Part: Resin Casting
I mixed the resin according to the instructions. This stuff smells STRONG, so I did it outside on my balcony. I added the red pigment and a sprinkle of glitter. Maybe a bit too much glitter… we’ll see.
Carefully poured the resin into the clover molds. This is where I messed up the first time. I didn’t tap the molds to get rid of air bubbles. Ended up with a bunch of little holes in the resin. Grrr.
Learned my lesson! For the second batch, I tapped the molds like crazy. Much better. Let them cure for the recommended 24 hours.

The Demolding Drama
Popped the resin clovers out of the molds. They looked…okay. Some were a bit cloudy, probably from not mixing the resin thoroughly enough. The glitter was definitely overkill. Live and learn!
Assembly Time: Making Earrings
This part was actually pretty easy. Using pliers, I attached the jump rings to the resin clovers. Then, I connected the jump rings to the earring hooks. And voila! Earrings!
The Final Verdict

They’re not perfect. Definitely a little rough around the edges (literally). But they look surprisingly good! I’ve worn them a few times and gotten compliments. Plus, it was a fun project and I learned a lot about working with resin.
Would I do it again? Probably. But I’d definitely be more careful with the resin mixing and the glitter. Maybe try a different shade of red too.
Anyway, that’s the story of my red Van Cleef-inspired earring adventure. Hope you enjoyed! Maybe it’ll inspire you to try your own DIY project.
