
Okay, so here’s the deal with my Loewe Hammock handbag project. I’m gonna walk you through the whole shebang, from start to (almost) finish. It’s been a journey, let me tell you!
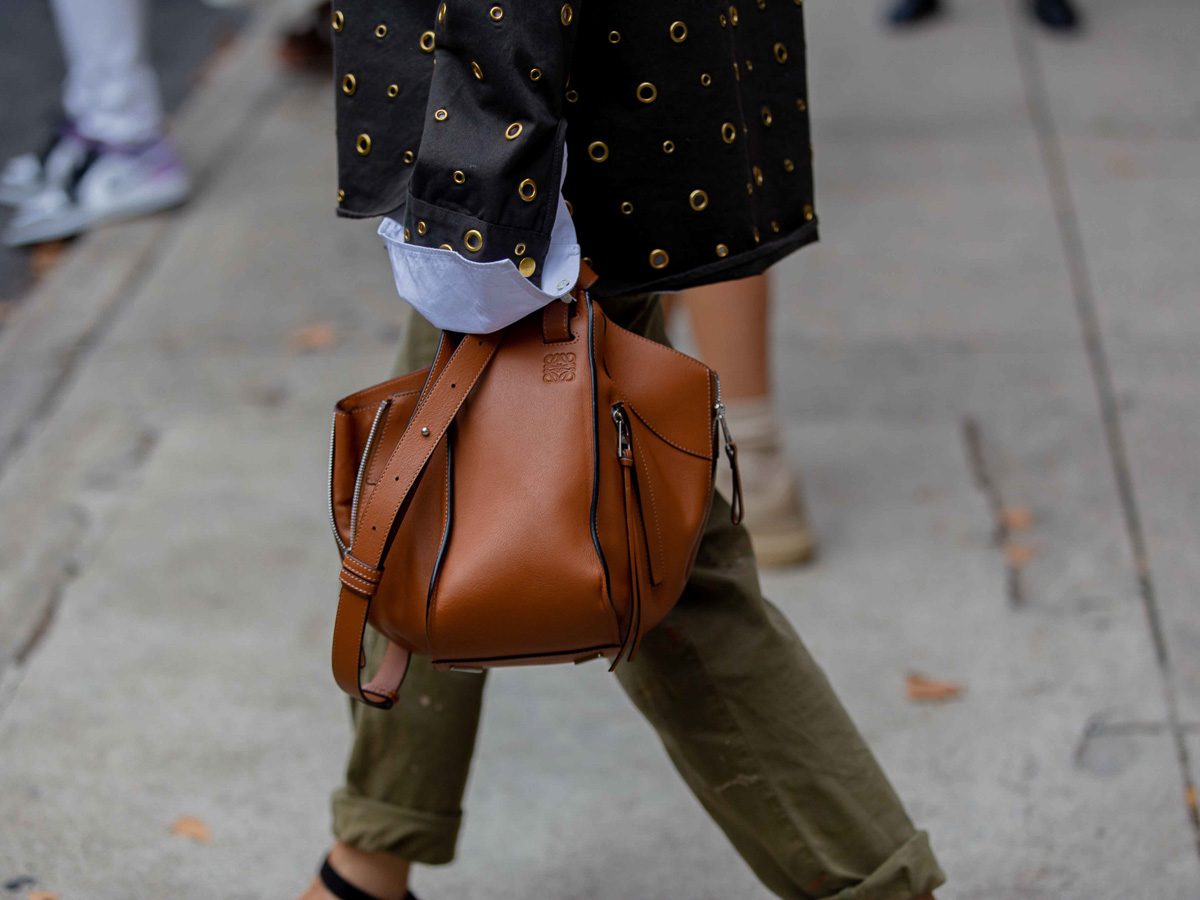
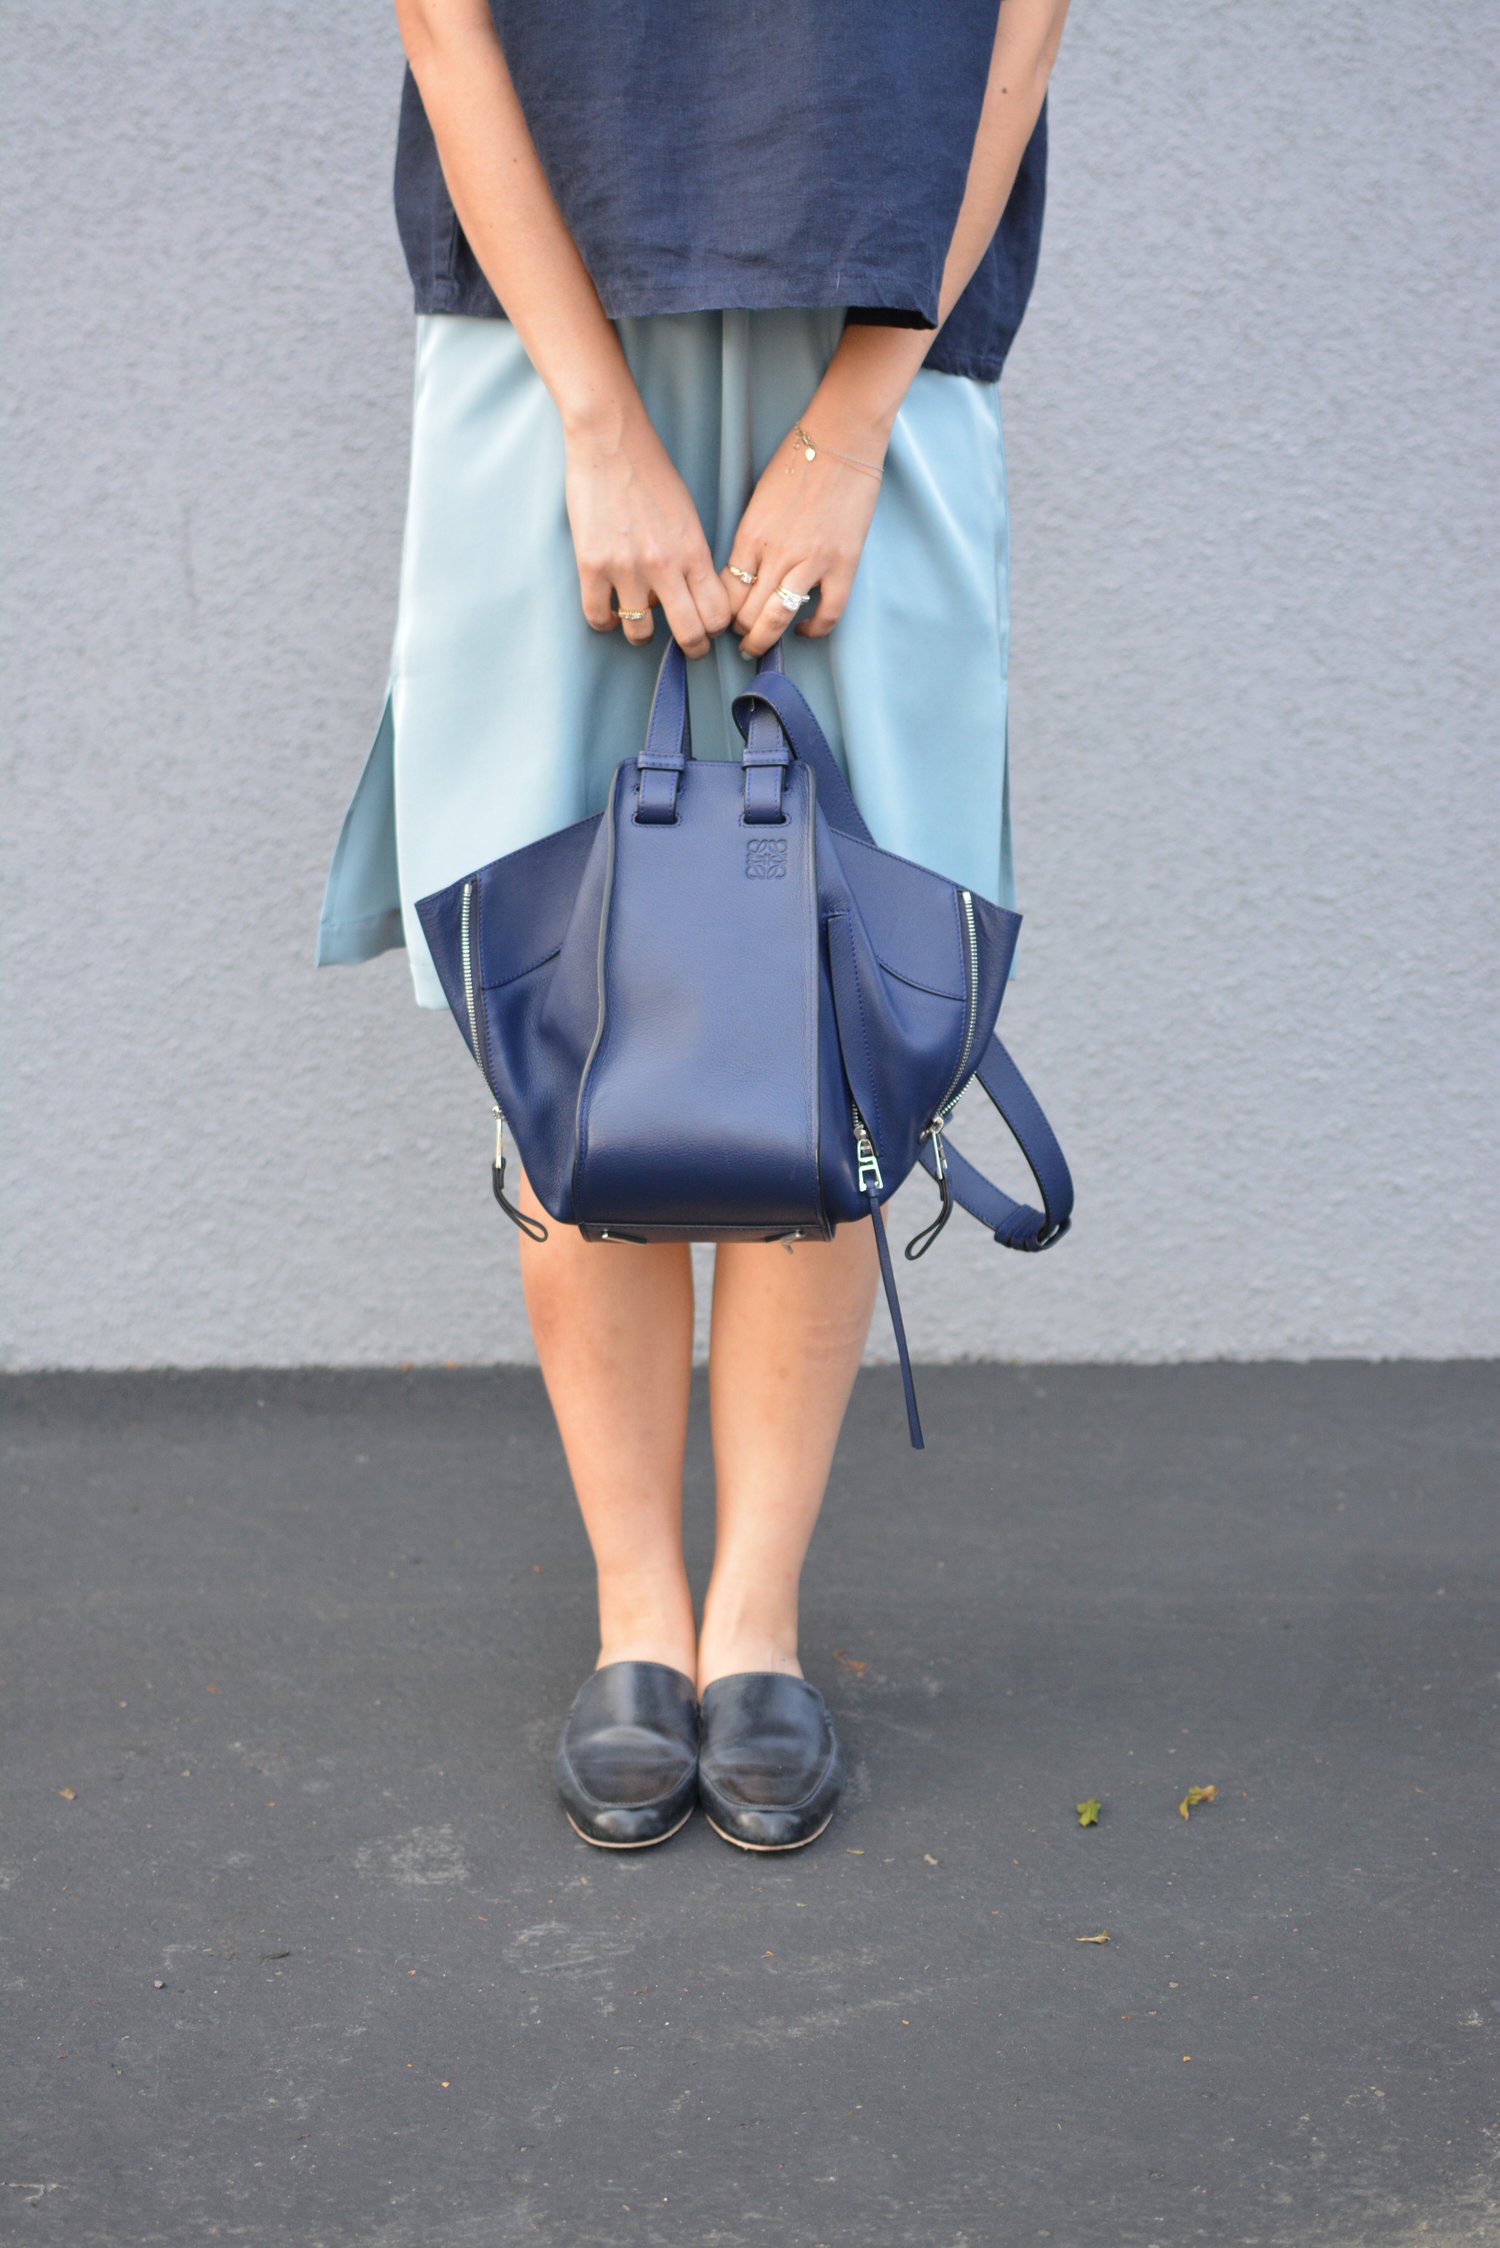
First off, I saw this Hammock bag online, right? And I was like, “Damn, that’s gorgeous!” But the price tag? Forget about it! So, naturally, my brain went straight to “I can totally make that myself.” Famous last words, I know.
The Planning Stage (aka Pinterest Overload)
- I started by scouring the internet for any and all information I could find on the bag. Pictures, videos, blog posts – you name it, I consumed it.
- Then came the pattern. I couldn’t find an exact pattern for the Hammock, so I had to Frankenstein one together. I took bits and pieces from different bag patterns I had and modified them. This was probably the trickiest part.
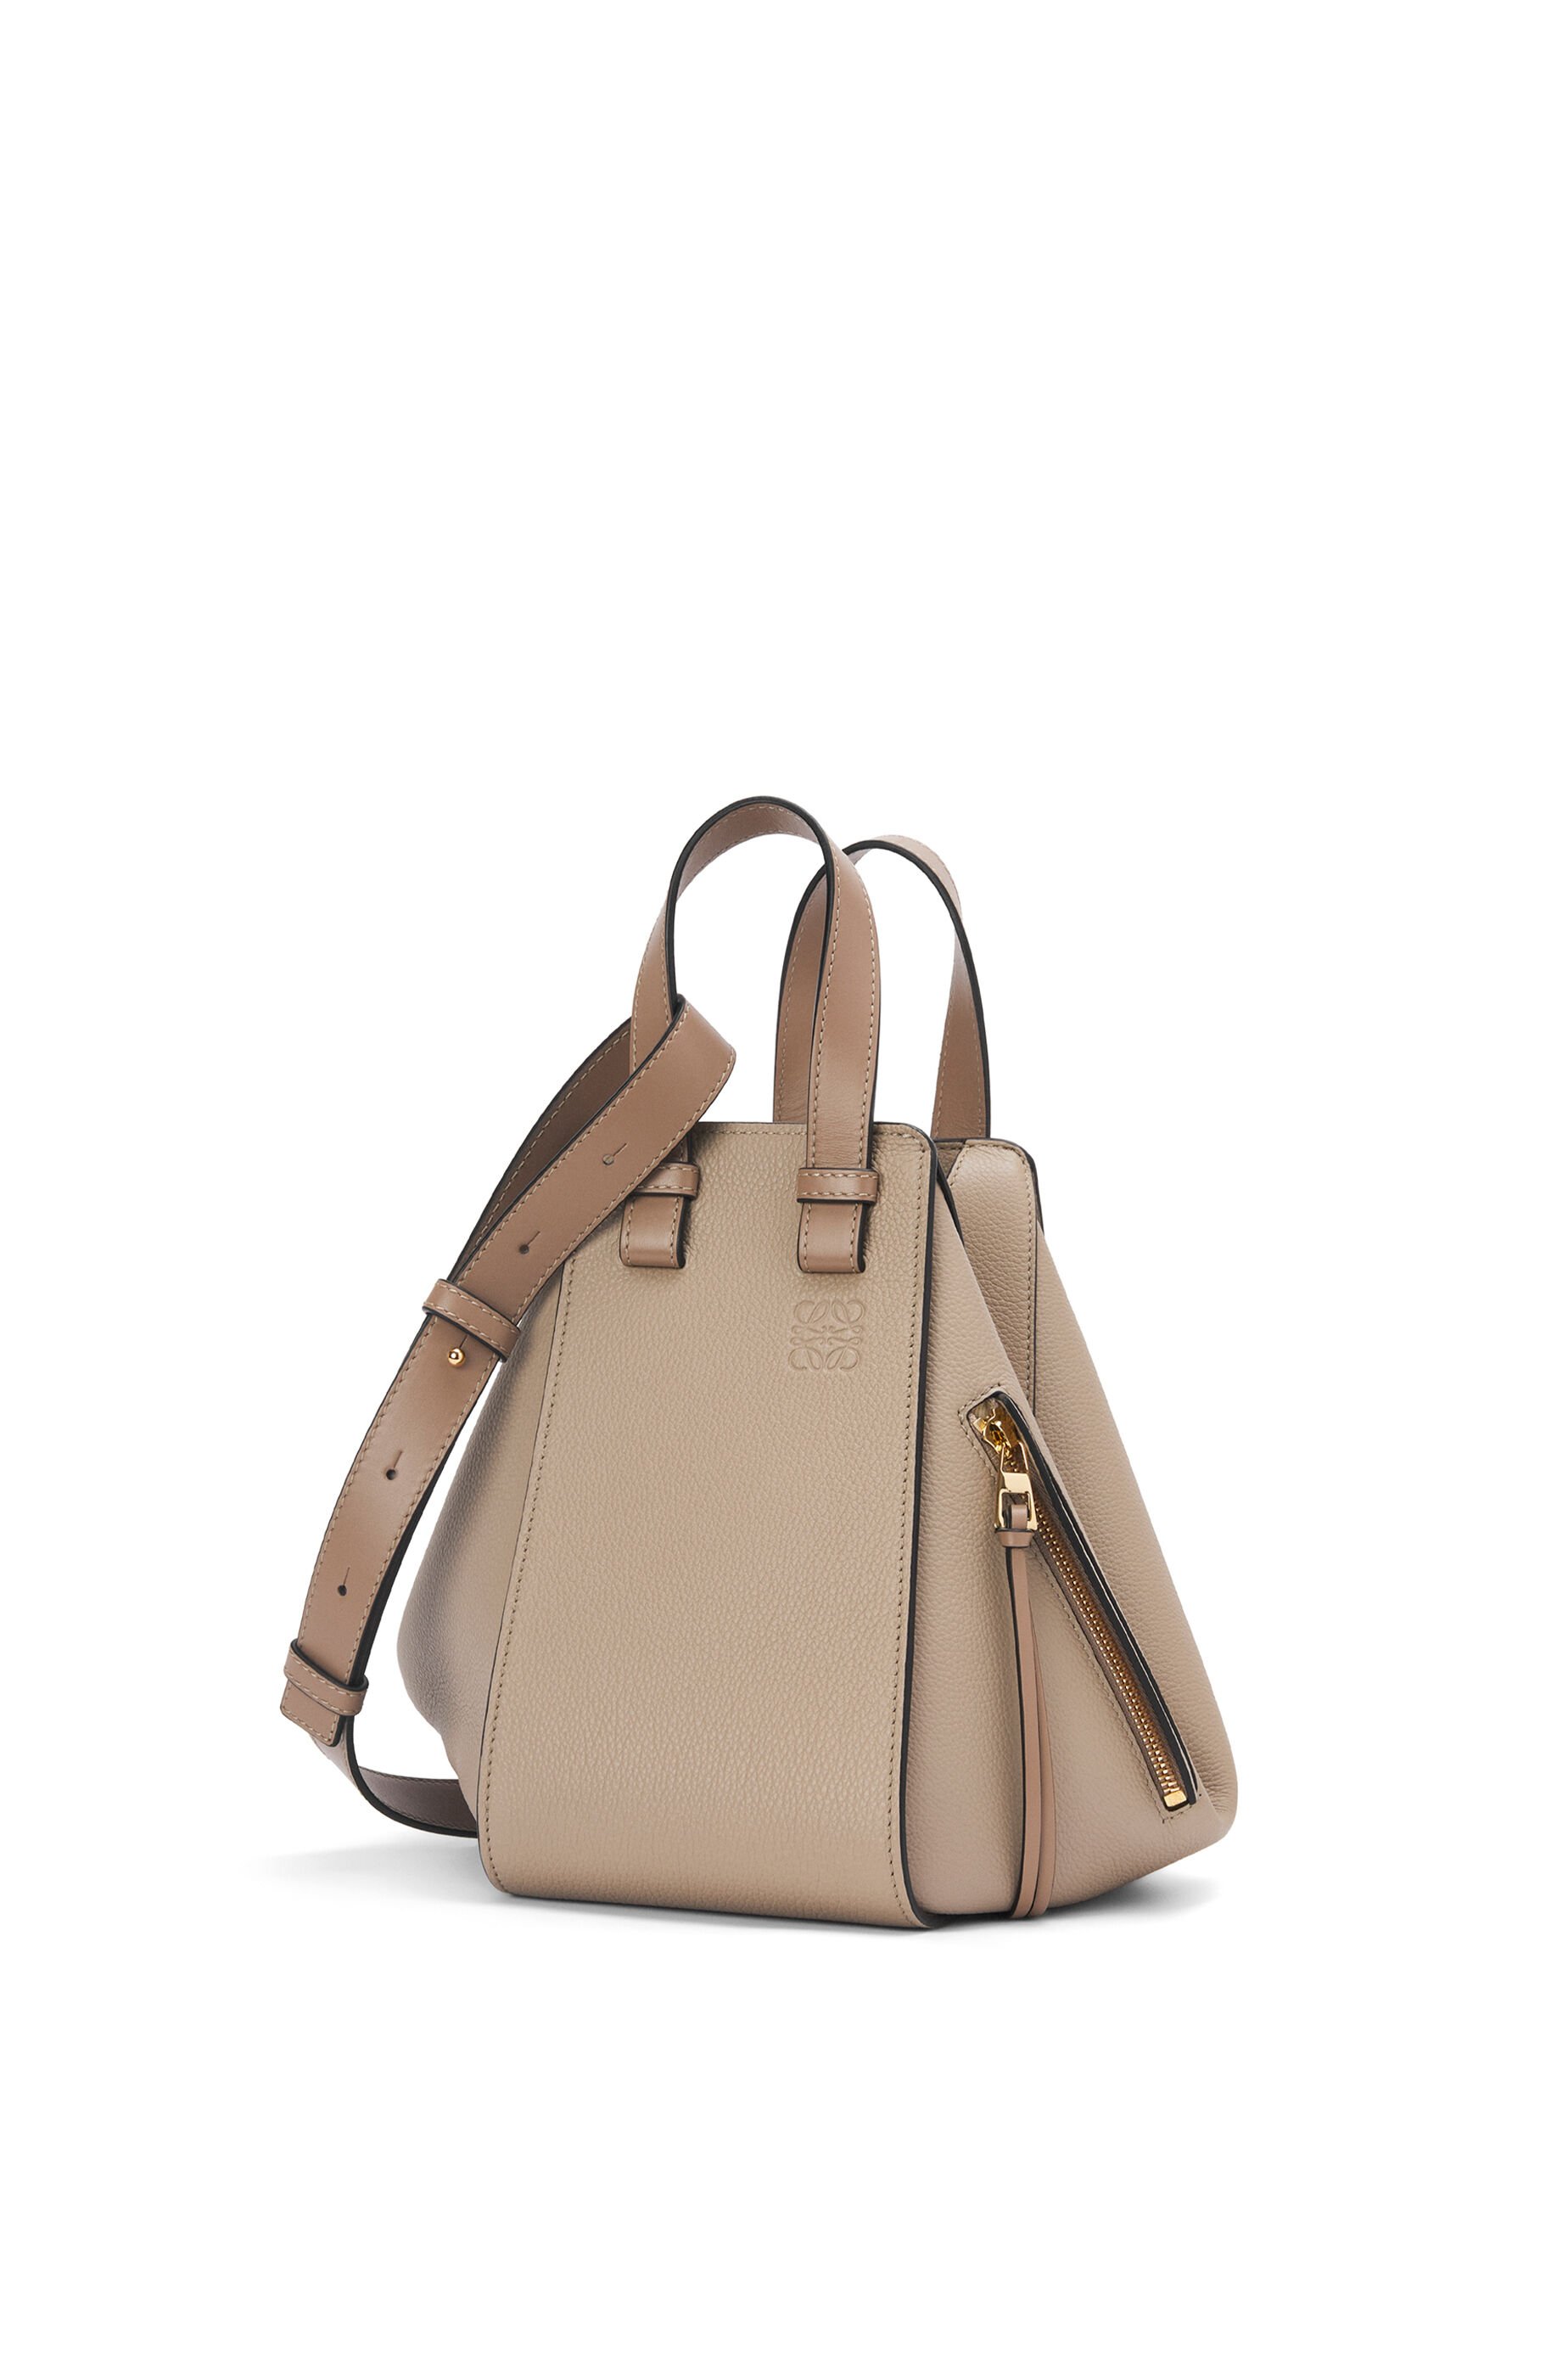
- Next, I sourced the leather. I wanted something that looked similar to the original, so I went with a soft, supple calfskin in a tan color.
Cutting and Sewing (The Real Fun Begins)
Alright, so I printed out my (highly questionable) pattern and started cutting the leather pieces. I will say, cutting leather is strangely satisfying. That sharp “snick” sound is just…chef’s kiss.
Then came the sewing. Now, I’m no expert sewer, but I can usually manage a straight line. The Hammock bag, though? It’s got curves for days! Getting those curves right was a challenge. I ended up using a lot of clips and pins to hold everything in place before sewing.
Here’s a breakdown of the steps I took:
- I started with the main body panels, sewing them together to create the basic shape.
- Then I added the side panels, which is where the bag really starts to take its Hammock-like form. These were tricky because of the angles involved.
- Next up was the lining. I used a sturdy cotton twill for the lining, and sewed it in place, leaving an opening at the bottom for turning the bag right side out.
- After turning it right side out, I topstitched around the edges to give it a clean, professional finish.
- Then came the hardware: the D-rings, the swivel hooks, and the magnetic closure. Attaching the hardware was a bit fiddly, but nothing too crazy.
- I made the shoulder strap adjustable with a buckle. I also added some decorative stitching to the strap to give it a little extra flair.
The “Almost” Finish (and What I Learned)
So, here’s the thing. The bag is…almost done. I’ve got the main body sewn, the lining is in, and the hardware is attached. But I’m not completely happy with it. The curves aren’t quite as smooth as I’d like, and the stitching is a little wonky in places.
Lessons Learned?
- Don’t underestimate the complexity of a designer bag. These things are meticulously crafted!
- Pattern making is a skill in itself. I definitely need to improve my pattern-making abilities.
- Patience is key. Rushing things just leads to mistakes.
I’m planning to go back and rework some of the areas I’m not happy with. Maybe I’ll even try making another one from scratch, now that I have a better understanding of the construction.
All in all, it’s been a fun and challenging project. And even if the bag isn’t perfect, I’m still proud of what I’ve accomplished. Plus, I’ve learned a ton in the process. And hey, at least I didn’t have to shell out thousands of dollars for a Loewe Hammock!
