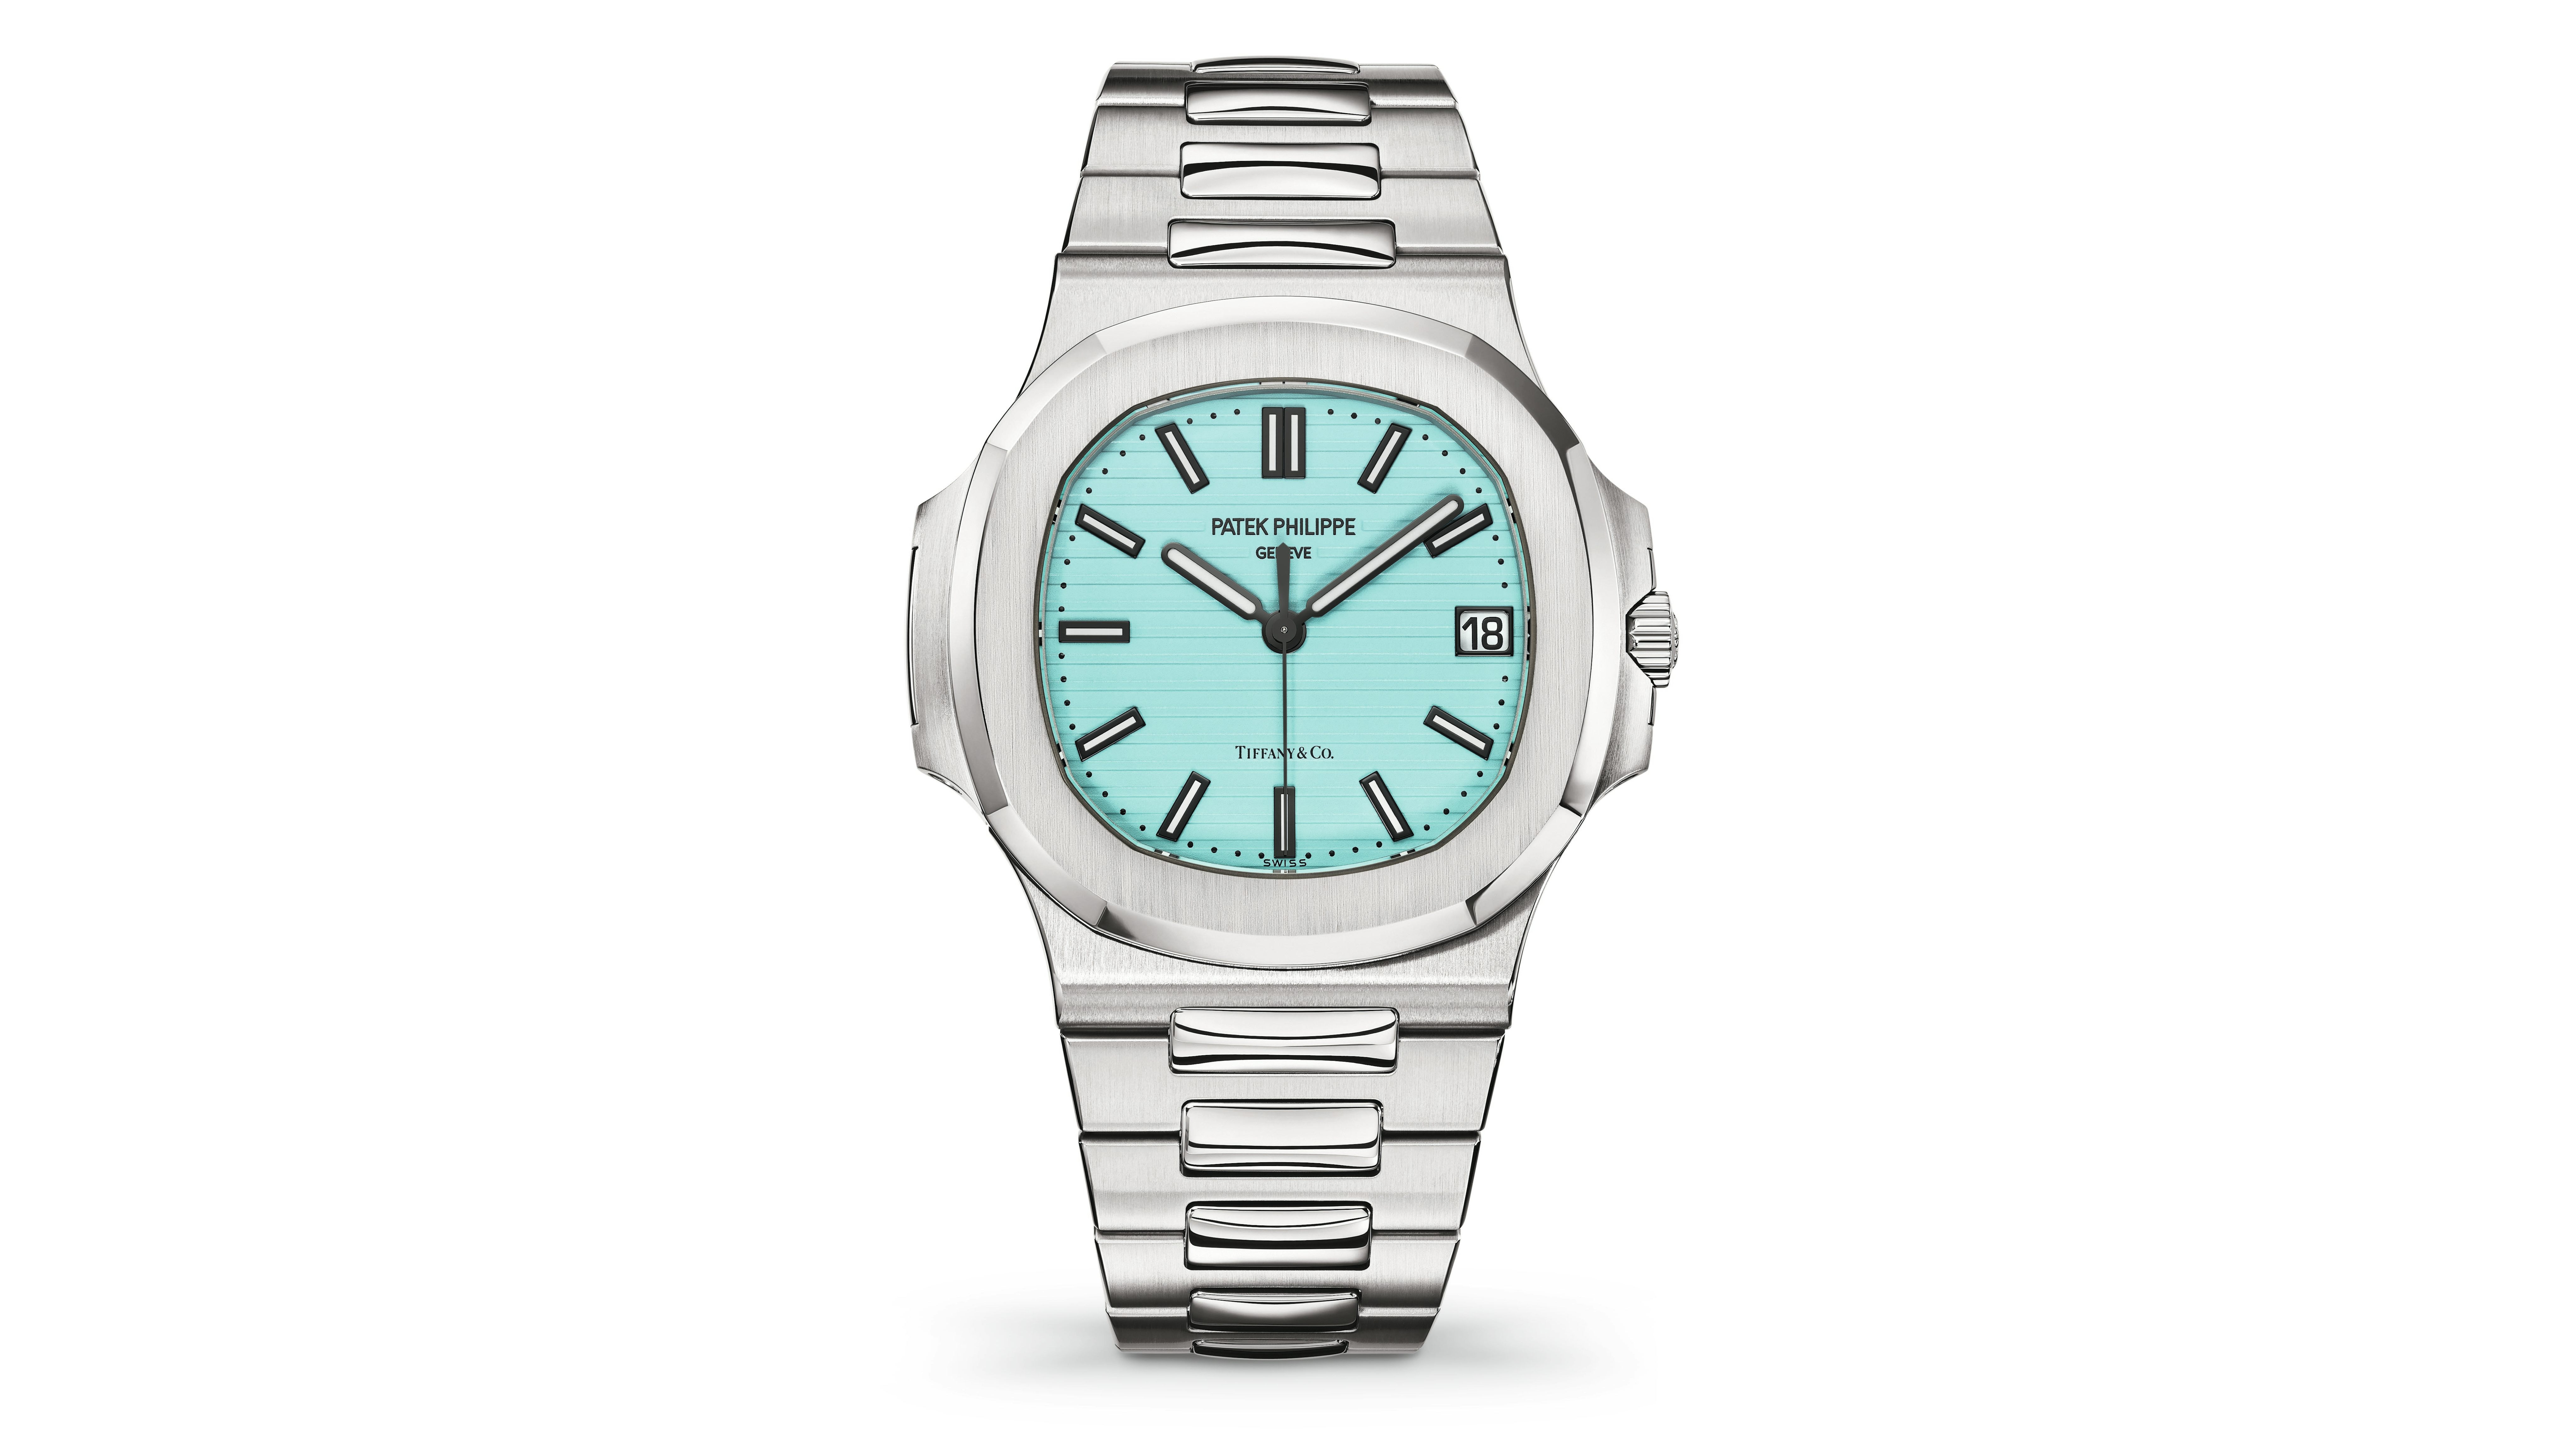
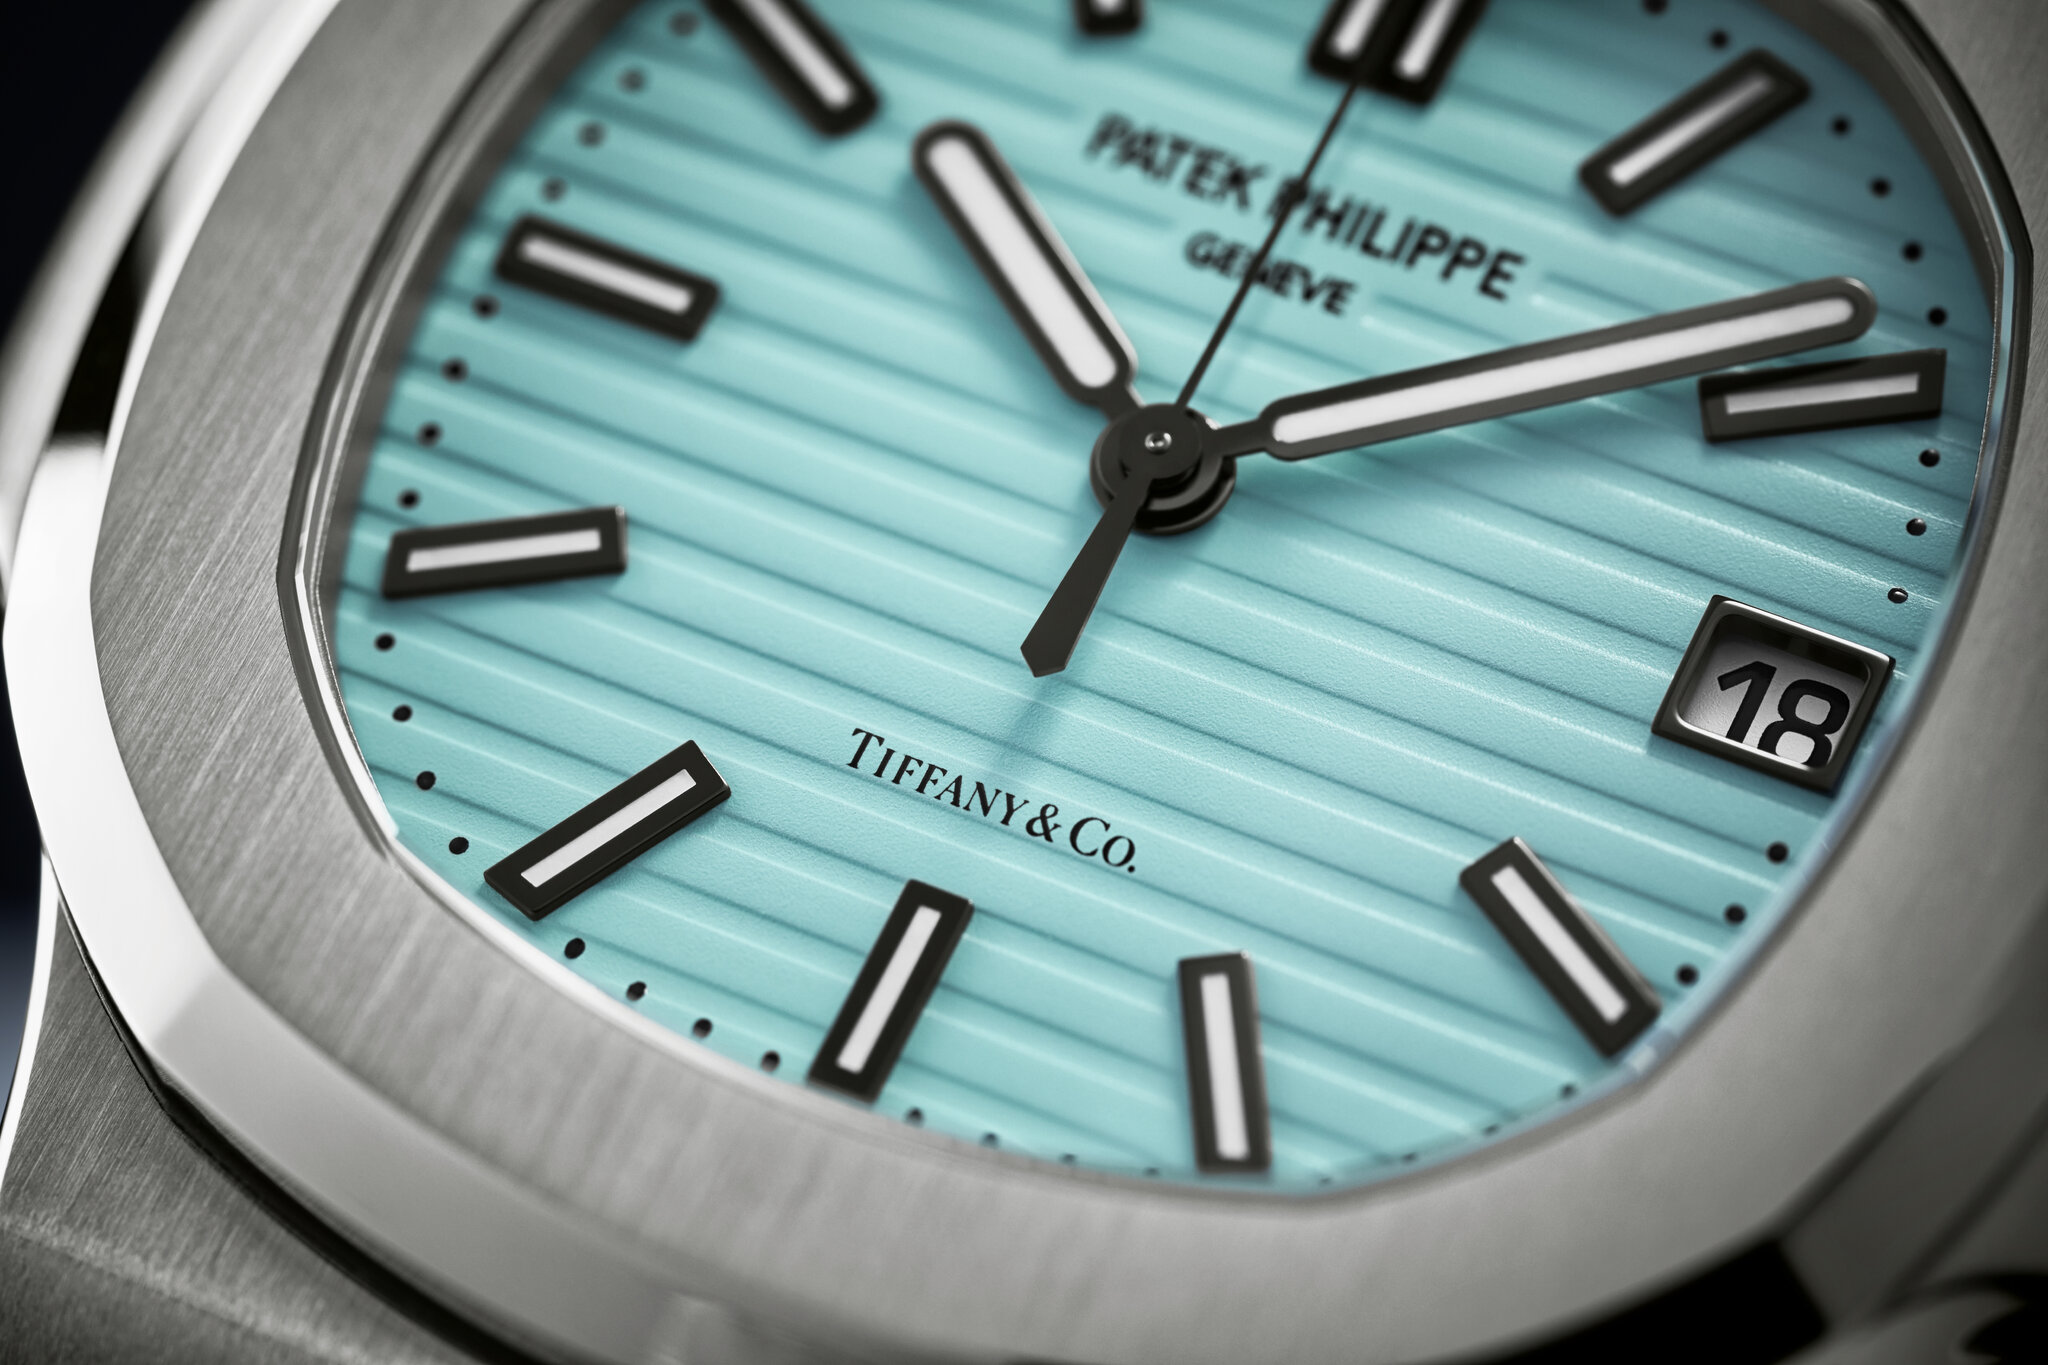
Alright, let’s dive into this little project I called “tiffany-blue nautilus.” It all started with me staring at this plain white nautilus shell I picked up at a craft store. It was begging for some color, you know?

First thing’s first, I grabbed my trusty acrylic paints. I had this vision of a vibrant, almost iridescent tiffany-blue, so I started mixing. A little bit of turquoise, a dash of sky blue, and a tiny, tiny bit of white. Took a few tries to get the exact shade I was after, but that’s half the fun, right?
Next up, the painting. I decided to go with a layering technique to give it some depth. I started with a light base coat of my tiffany-blue concoction. Let that dry completely – patience is key here, people! Then, I went back in with a slightly darker shade, focusing on the grooves and ridges of the shell. This is where a small, detail brush comes in super handy.
To really make it pop, I added some subtle highlights with a pearlescent white. Just a few strategic strokes along the edges to catch the light. It instantly gave it this shimmery, almost ethereal look. I was getting excited at this point!
Now, for the inside of the shell. I wanted a contrast to the bright exterior, so I went with a soft, creamy white. Again, layering was my friend. I added some subtle shading with a light tan to create a sense of depth and dimension.
Once everything was dry, I sealed it with a gloss varnish. This not only protected the paint but also enhanced the colors and gave it a beautiful, polished finish. I let it cure for a full 24 hours to make sure it was rock solid.

And there you have it! My “tiffany-blue nautilus” was born. It’s sitting on my desk now, catching the sunlight and reminding me that even the simplest things can be transformed with a little bit of creativity and some elbow grease.
Lessons Learned:
- Layering is your best friend when it comes to acrylics.
- Don’t be afraid to experiment with colors.
- Patience is a virtue, especially when waiting for paint to dry.
- A good varnish can make all the difference.
Overall, it was a fun little project, and I’m pretty happy with how it turned out. Definitely gonna try some more shell painting in the future!


